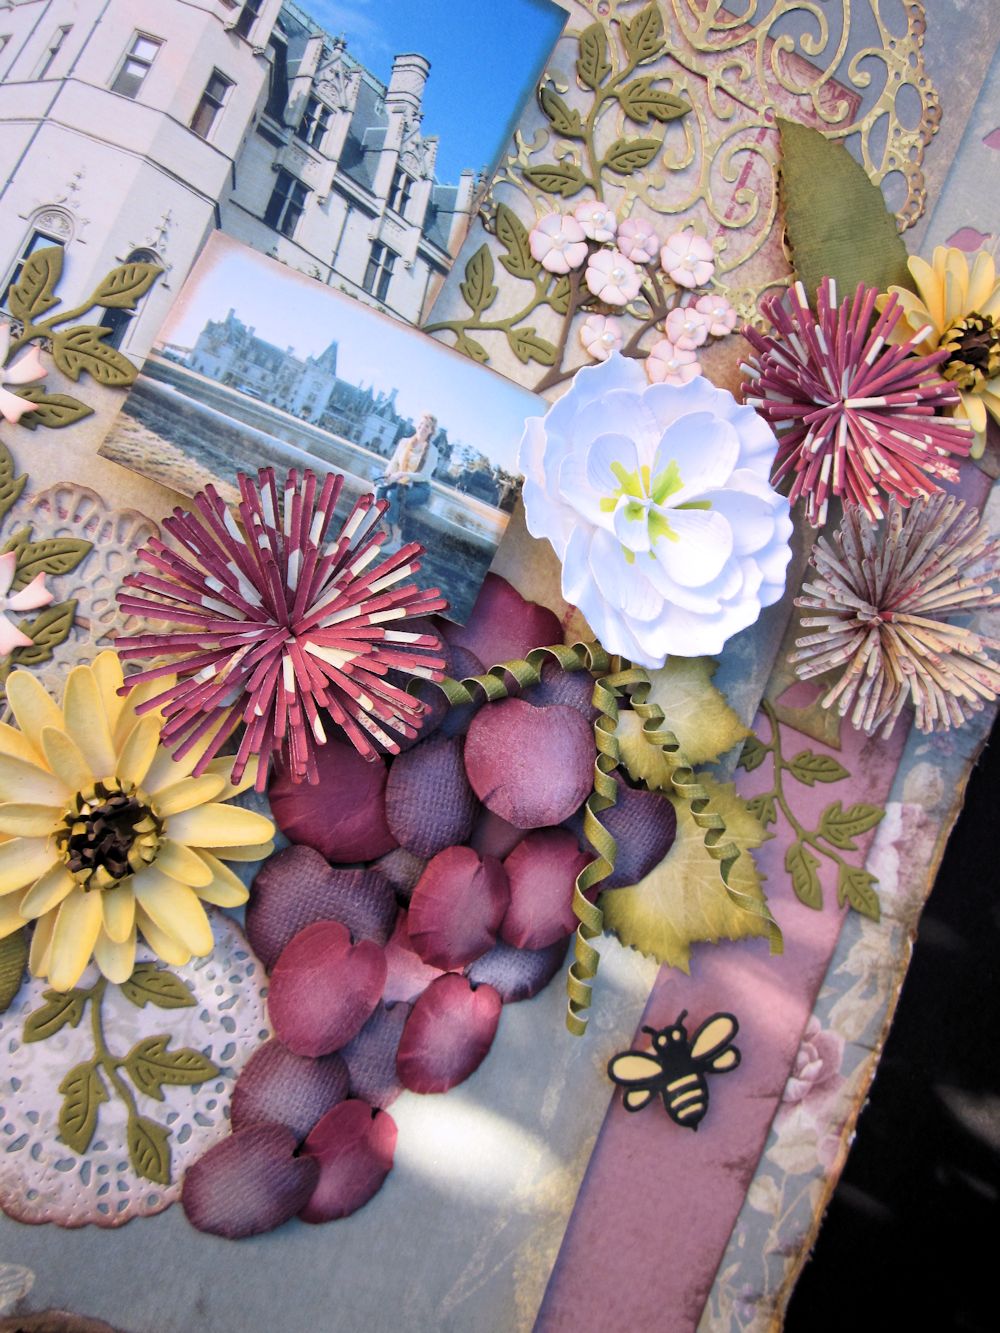
Showing posts with label Kaisercraft. Show all posts

Saturday, May 9, 2015

Love You with Technique Junkies


 I have been enjoying the beautiful weather this spring and thought I would share this card that is perfect for the season.  I colored the Flourished Florals image from Technique Junkies with Spectrum Noir Blendable Pencils, and cut the image out and layered it. The Circle- Love You stamp was nestled into the floral image.

Sunday, February 22, 2015

St. Patrick's Art Tag

St. Patrick's Day, and all that is green is soon approaching. It just so happens that green is my favorite color - any shade possible! To celebrate, I thought that an easy mixed media tag would be fun to put together.

 001  

St. Patrick's Art Tag Supplies:
005_edited-1
 Step 1. Cut tag from green cardstock and emboss with folder.
 Step 2. Sand the raised areas. 030
 Step 3. Paint the edges of the tag.

031  
Step 4. Spread Creative Medium through stencil and sprinkle with glitter. Allow to dry.
 Step 5. Arrange ribbons on the tag and nestle printed paper as shown.
 Step 6. Ink the edges of the foam shamrock and add to the ribbons along with small green flowers.

 I hope the luck of the Irish is with you this season! Thanks for stopping by.   ~Gini

Friday, June 28, 2013

More Fun with Xyron, May Arts Ribbons and Little Yellow Bicycle!

Today is my part 2 for the May Arts, Xyron and Little Yellow Bicycle inspiration week.  If you missed my post on Wednesday, I created a layout, that you won't want to miss.  The Poppy papers from LYB were so fun to work with, and my Xyron and May Arts Ribbons worked perfectly with them.  Now on to today's creation - a mini album.

It is so easy to cover mini albums using Xyron products.  This was a wooden Kaisercraft album - and I was able to run all three "pages" through my Creatopia at once.

After running the wood pages through my machine, I adhere my paper, and trim it roughly to the size and shape.  I sand the edges to make it perfect.  This is why I love using my Xyron for this - the entire paper is stuck down, and doesn't peel away in areas when I am sanding.

Xyron has a couple of new products and I used them to attach ribbon to the front panel.  First, I used the High Tack Double-Sided Tape to add the Chevron Stripe Twill.  This ribbon is not going anywhere!
After that ribbon was on, I wanted the narrow gingham ribbon layered on top.  I wanted my bow to stay exactly where I wanted it, and not flop around.  So the second new product I used were the High Tack Adhesive Dots. They are the perfect size and great hold to keep my bow secure.

I finished the album cover and pages with the beautiful Poppy papers and embellishments sent from LYB.  

Around the sticker, I added some May Arts Satin Flowers for more texture.


I layered the leaf ribbon behind the poppy stickers.


Of course, I had to tie ribbons around my binder clips to finish off this fun little album.


Wednesday, June 12, 2013

Introducing Heartfelt Creations' Newest Collection - Gateway to the Seasons

We are pleased to introduce the Gateway To The Seasons Collection. The Ornate Gate Die is adorned with a flourishing design and a large, exotic accent piece. Lace, gazebos, birdhouses, gardens, backyards, a fall scene, a winter home and sentiment stamps will add joy to your cards and a smile to your face. These scenes and sentiments will complete your stamp collection. The Daphne paper pack is loaded with lacy Victorian patterns in soft pink, cream and greens accented with red, green and brown. Classic Heartfelt Creations images combined with stripes, diamonds and vintage type, tags and journaling blocks create a collection you will treasure forever! Leave a comment on the Heartfelt Creations blog by June 18th and you will be eligible to win the entire release valued at $150.00


Heartfelt Creations Products
HCDP1 234 Daphne Paper Collection
HCPC 3544 All Seasons Sentiments PreCut Set
HCPC 3541  Summer Season PreCut Set
HCPC 3543  Winter Season PreCut Set
 HCPC 3494 Delicate Asters PreCut Set
HCPC 3532 Beautiful You PreCut Set
 HCD 737 Ornate Gateway Die
HCD 732 Decorative Flower Pot Die
HCD 726 Delicate Asters Die
Sparklets
3-D Paint Moss Green

Other:

Clearsnap Ink, Fairy Dust Glitter
WorldWin Cardstock
Distress Ink
May Arts Ribbon SE01
Xyron Mega Runner, Creatopia

Directions: 6 x6 Merry Christmas From Our Home Card

Stamp the border from the Summer Season set with white pigment ink along the bottom of the base of patterned paper. Distress the edges, and paint around the edges with the 3D Paint. Cut two of the fancy gate toppers and ink the edges.  Glue to the base so that the tips are lined up to the center of each outer edge. Stamp the winter home and die cut.  Color with distress inks.  Add fine glitter to the areas of snow. Apply to card with foam adhesive. Stamp the Sentiment set, and cut the words out for your sentiment. Glue to card. Stamp and cut 4 of the Delicate Asters ( 2 small, 2 medium), shape and assemble.  Add a little glitter and a Sparklet for the center.  Stamp and cut the greenery.  Color with the 3D paint.  Finish with a bow.

Monday, June 3, 2013

All Abuzz!


There is an equestrian estate close to my house, and around the entire perimeter of this large farm, are gorgeous rose bushes. They are in full bloom now, so I was inspired to pull out my dies, and create my own rose blossom.


Saturday, May 18, 2013

Imagine

This week, I will be sharing some creations at the Words or Whatever Blog.  Up first is this mixed media card.
I used one of the WOW AltaMATZ templates (Doily).  I traced around the entire design using a Aquarelle pencil, and then inked around the outside.  I misted this with water, so that the pencil would disperse.
I took the chipboard gate - painted it with Gesso, then inked it with a dark brown pigment ink, and added some glitter.  The Imagine title was inked to color it, and then I rubbed a little bit of Metallic 3D paint over it.
Supplies
Words or Whatever: 6x6 AltaMatz Doily ALTA033; Imagine Dream Believe WOW1450; Ornamental Gate WOW991
Kaisercraft: Patterned Paper, flowers
Hampton Art background stamps
Clearsnap Ink
Xyron Mega Runner

Monday, May 6, 2013

Hip Hip Hooray


Hi! I hope you had a nice weekend.  It did not stop raining all weekend long here - so I thought a bright, cheerful card might do the trick to add a little sunshine.


I

Kaisercraft: Patterned Papers
Hampton Art/ Outlines Stamps
 KI Memories Washi Tape
Doodlebug Twine
Copic Markers
Clearsnap Ink

Monday, February 18, 2013

Enjoy the Little Things

When I saw the Marigold Collection, by Kaisercraft, I knew it was time to try creating a paper marigold to go along with these papers.


I also had a chance to play with some of the mixed media techniques my friend Vivian Keh (Contadina K) shares on her YouTube videos.  For this, I started with a base of masking tape, and then used gesso, mists, Viva Decor Inka Gold and Viva Decor Glitter Liners to create an interesting backdrop for my clusters.


Core'Dinations Cardstock
Clearsnap: ColorBox Chalk - Blush Rose; ColorBox Pigment - Cranberry ; Smooch Ink - siren; Smooch Spritz
Viva Decor: Inka Gold; Glitter Liner

Challenges:

Sunday, January 27, 2013

Tea Lovers Gift/ Mini Album


Are there any tea lovers out there?  Then, I hope you will enjoy this mini- album and holder I have to share with you.

I started out with a Tea Pot Party Favor from Kaisercraft. It's such a cute little box, but was begging for a mini album to sit inside of it.  So I thought it would be really fun to create a little album to hold tea bags from around the world.  Wouldn't this make a great gift for any tea lover?


I started off by painting the wood teapot, and then covering it with patterned paper.  Since I was going to highlight teas around the world, I thought the addition of map paper would be a great choice.

I die cut my large letters andI ran them through the Xyron 900 Creative Station to apply my adhesive.  All of the Xyron machines are great for adding adhesive to intricate die cuts. You can arrange as many cuts as you wish (right side up), and run them through at the same time.

You just crank the handle, add your cuts come out on the other side.  Rub your finger over the film to make sure the adhesive is secured, and pull the film away.  The letter is ready to be applied to the project. Super easy!

I also added a narrow strip of trim - using CLD Celtic Band. Since this is narrow, it worked very easily with my Xyron Create a Sticker 150.  I always keep this on my work desk, because it's so handy for attaching little small bits and bobs. 
This works on the same principle, except there is no handle to turn.  You simply start feeding your paper through the top of the machine, and then pull the adhesive sheet out on the other side.

It comes out like this - and again, you just rub and peel.

To finish decorating my box front, I used an old silver plated tea spoon, and hammered it flat, and added my title with alpha stickers.  (It looks almost like paper here - but it's really not!)  I tied a big bow using May Arts Twill Stripes 382-34-14 Ribbon.


Now it was time to make the album.  I decided to create a paper roll album, so each page would have a pocket to tuck a tea bag in. After I flattened the tubes, I covered each one with a different coordinating paper. I also made the outer cover by using left over cardboard, and covering it with cardstock.  So, this project is a perfect way to use those recyclables.


Then the fun began - embellishing the book! Why don't you take a look?


Did you notice the tea bags peeking out? This project not only is fun to look at- but it smells great too! Thanks for sharing a cup of tea with me today.

Supplies
 Kaisercraft: Tea Pot Party Favor; Mini Alpha stickers, Pearls
Farmhouse Paper Company: Fair Skies -Patterned Paper, Chipboard
Create a Sticker 150
Xyron 900 Creative Station
Xyron Mega Runner
May Arts Ribbon: 
JBS - Button


Friday, January 18, 2013

Time Is Precious


Over the next few weeks, I will be sharing projects that I made for Hampton Art's Winter CHA release.  This card shows off one of the newest designs from 7gypsies. Be sure to keep watching the Hampton Art blog to see more of the new release!

Supplies:
Hampton Art 7gypsies licensed stamps: Time is Precious (SC0522)
Clearsnap
Top Boss Watermark Ink
Smooch Ink: Gold Lame
Other
May Arts Ribbon
Gold Embossing Powder
Spellbinders: Standard Circles Large
WorldWin Papers Cardstock
Kaisercraft Patterned Papers: Check In Collection
Adhesives: GlueArts Glue Glider Pro – Perma Tac; Zipdry; Scor-tape

Instructions:
1. Stamp the watch on a lightly patterned paper using the watermark ink. Emboss with gold embossing powder, then fussy cut. Stamp the hands of the watch using black ink.
2. Arrange the layers of the card as shown. Use Scor-tape to adhere the ribbon in a straight line. Glue the watch over the layers.
3. Emboss the sentiment in the upper right corner of the card, using the gold powder.

Monday, January 14, 2013

Saturday, January 12, 2013

Cheery Lynn Designs New Release!


I love the beach and anything to do with it, so I jumped at the chance to design with these seahorses and starfish/sand dollar


My sentiment die reads "Best Wishes" and on the Tags 2, I added alpha stickers to say "From the Fishes"  

Monday, January 7, 2013

Lovely Lady Card

I love the holidays, but I have to tell you, I am really glad when things get back to a normal schedule too!
I have a special card to share with you today.  This was published in the  March 2013 Issue of Scrap and Stamp Arts Magazine.  I found a copy of this issue last weekend, on a trip to Tennessee and was thrilled when I saw this in print.
.  I accordian pleated the petals for my carnation, creating a very realistic look.


Patterned Papers: Kaisercraft Charlotte's Dream
Xyron Mega Runner