It's been awhile since I've shared a video with you, but I think you will learn a few new ideas for stamping on acetate. I've used Joy Clair Stamps and Imagine Crafts inks, so be sure to check out those sites.
Showing posts with label tutorial. Show all posts
Showing posts with label tutorial. Show all posts
Wednesday, December 9, 2015


Monday, June 15, 2015
June Tutorial for Crafter's Companion
Watercolors, Masking, and Embossing, Oh My

Crafter’s Companion US supplies:
Other Supplies:
Heat Tool
Imagine Crafts Sheer Shimmer Spritz (
Sparkle), Embossing Powder: Gold, Black
DCWV Corrugated Cardstock
WorldWin Cardstock, Vellum
Round Watercolor Brush
Coarse Salt
Tombow Removable Adhesive
May Arts Ribbon EM94 1.5" Net
Button
Directions:

- Stamp the poppy image onto the watercolour paper using watermark ink. (Be sure to stamp a little of the image off to the side and bottom).
- Sprinkle
with black embossing powder and heat set.

- Using the Spectrum Aqua markers, add a little Orange to the bottom of the flower and Scarlet at the tops of the flowers, leaving white space in the center.
- Spray
Sheer Shimmer Spritz onto the craft mat. Using a watercolor brush, blend the
colors together with the Shimmer Spritz.
This will create a beautiful glimmer to the colors.

- Use
the fine tip end of the Spectrum Aqua markers to color the stems.

- Stamp
the poppy image onto vellum to use as a mask. Since the vellum is clear, this
will make it easier to align the colored image and the mask.

- Cut
around the mask, including inner areas of the stems.

- Use removable
adhesive to place the mask on the colored image.


- Stamp
the script image over the poppies, using watermark ink. Sprinkle with gold
embossing powder. Remove the mask before
heat setting.

- Replace
the mask and use the darker blue marker to add shadows around the poppies, and
the lighter blue to add color to the background. Blend using the brush and Shimmer Spritz.

- Sprinkle coarse salt over the wet watercolor and allow to dry. Brush away the salt.
- Remove the mask. Add panel to card base as desired.


Tuesday, December 9, 2014
The World is But a Canvas with Video Tutorial

A few weeks back, I shared with you that I was chosen to be on the Imagine Crafts/Tsukineko Video Artist in Residence Team. I'm so excited! I won't officially start posting on the blog until January, but thought I would give you a sneak peak of things to come.
The leaves and the dragonfly were made with the Vertigo film (that is one of the coolest products ever!) If you would like to see more on how I made this, then please watch my video. If you enjoy it - please subscribe to my YouTube channel!
Thursday, October 9, 2014
Day of the Dead Canvas
Hi fellow Core lovers! It's Gini, and I am here to share my first post as part of the Core'dinations Design Team. I've become intrigued with the Day of the Dead celebration, and thought I would try my hand at creating a colorful canvas. The sparkle in the Core Couture paper did a great job of mimicking the famous sugar skulls. And while crepe paper marigolds are the traditional decoration, I thought I would create them using punches and Core'dinations.

Day of the Dead Canvas Supplies:
- Core Couture - White Gloves
- Jillian Dot Spotted - Mantis
- Core Essential Brights
- Sand It Gadget
- Day of the Dead Wooden Skull
- May Arts Ribbon - 3/8" Knotted Edge Satin 466-38-28
- EK Success Flower Punches
- Art Anthology Dimensional Crystal Paint
- Xyron Creatopia
- Beacon Zip Dry Adhesive
- 8" x 10" Canvas
- Craft Files
- Craft Knife

Step 1. Apply full coverage adhesive to the back of a 12 x 12 sheet of White Gloves Core Couture paper. Adhere to the wooden skull.
Step 2. Roughly trim around the skull. Use the Sand It Gadget to smooth the edges.

Step 3. Use a craft knife to remove the paper covering the intricate designs and smooth with small craft files
Step 4. Outline the designs with dimensional paint. Allow to dry.
Step 5. Sand a piece of Jillian Dot Spotted and adhere to a canvas.

Step 6. Adhere the skull to the canvas.
Step 7. Punch flowers from Brights Cardstock (a mix of orange, yellow and red). Each flower needs 4 large and 4 small flowers.
Step 8. Lightly mist the flowers with water. Shape with your fingers to form a bud.

Step 9. Continue shaping each flower and allow to dry.

Step 10. Carefully unroll the dried flowers. Assemble with a dot of glue between each layer of petals.

Step 11. Glue the flowers to the canvas. Add ribbon to finish.

Wednesday, September 3, 2014
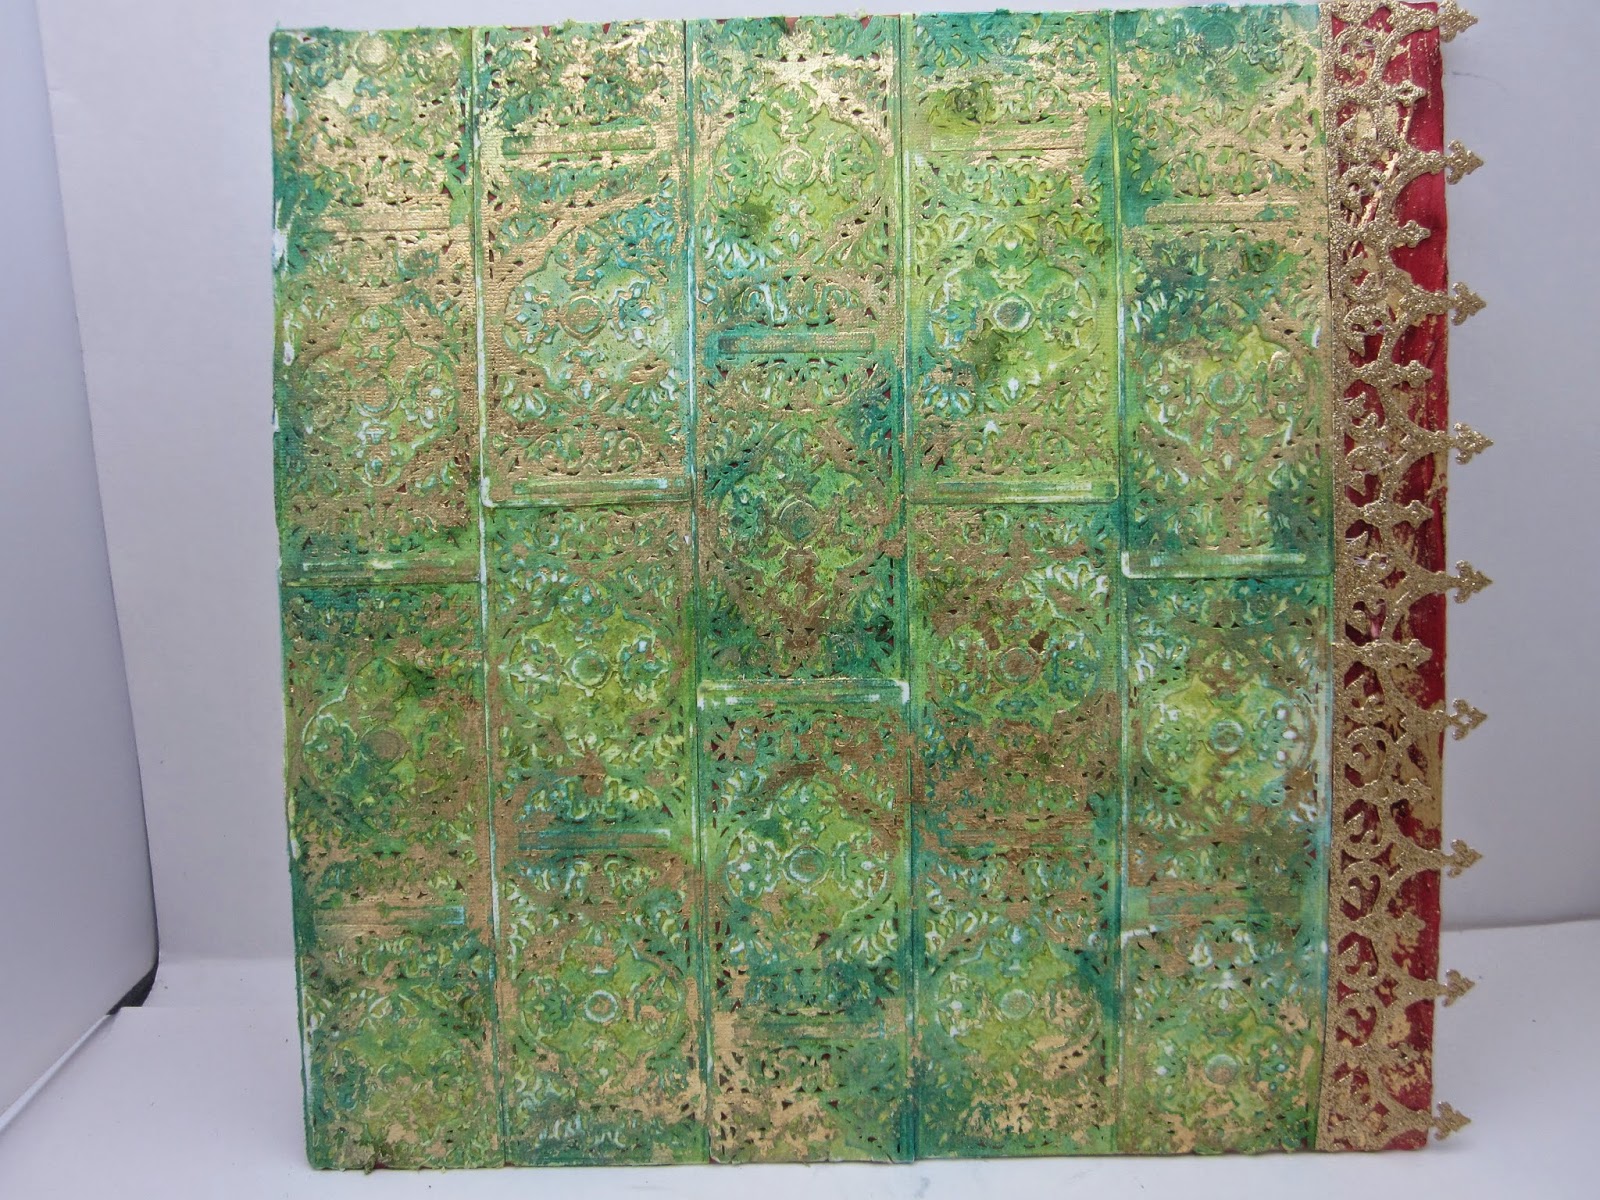
Antiqued Vintage Background for Mixed Media


First, I painted my board with Art Anthology Gesso and set it off to the side.
I began diecutting these panels using A Gilded Life's Vintage Brocade die.


Since my final design was going to have red poppies on it - I wanted to tie that color into the background. I sprayed Art Anthology Colorations over my gessoed surface using Heart. This way, the small openings in my embossed card stock would have red peeking through. It's not a blaring red background, but it really helped to tie it all together.
I began gluing the embossed paper to the substrate, making sure to arrange them off-set to each other.




I decorated my panel with handmade poppies, antique buttons, and an altered vintage book.


Thanks for stopping by!

Tuesday, August 19, 2014
Core’dinations Design Team Call
Are you ready for a fun (although long) post? Well grab your cup of tea and let's go! Core'dinations Cardstock is having a design team call - and I love this company. Because their paper is either a matching or contrasting core (never white cores) - there are so many great techniques that are possible- where as other products just won't work. This paper is very versatile- I enjoy using it for cards and layouts, but it's also my favorite for mixed media projects. I can only give you a little taste of what can be created today, but if you haven't tried this paper - go get some now, and join the fun.
Project 1 - Card in a Box
Fancy Fold cards are always fun, and I thought this Card in a Box would be a great way to show a potpourri of techniques and papers. While none of these techniques are hard, you put them all together, and you've got the wow factor. On this project I constructed the base, dry embossed, sanded, stamped, heat embossed, paper pieced the stamped flower, stencilled, fringed, punched, inked and die cut.


Supplies Project 1
Core'Dinations Vintage Collection
Core'Dinations Black Magic
Core'Dinations Whitewash
Core'Dinations Core Couture
Core'Dinations Super Assortments
Fun Journey Stampers: Greet and Shout, Enjoy the Journey, Summer Garden, Butterflies Die Set, Pennants die set, Color Fusion Ink
May Arts Ribbon
Project 2 - Shabby Floral Card
Project 1 - Card in a Box
Fancy Fold cards are always fun, and I thought this Card in a Box would be a great way to show a potpourri of techniques and papers. While none of these techniques are hard, you put them all together, and you've got the wow factor. On this project I constructed the base, dry embossed, sanded, stamped, heat embossed, paper pieced the stamped flower, stencilled, fringed, punched, inked and die cut.
 |
| This amazing little box will fold flat and fit in an envelope. |
 |
| The flowers and leaves were stamped on multiple colors of Core'dinations and paper pieced. |
Supplies Project 1
Core'Dinations Vintage Collection
Core'Dinations Black Magic
Core'Dinations Whitewash
Core'Dinations Core Couture
Core'Dinations Super Assortments
Fun Journey Stampers: Greet and Shout, Enjoy the Journey, Summer Garden, Butterflies Die Set, Pennants die set, Color Fusion Ink
May Arts Ribbon

 |
| Project 2 - Shabby Floral Card |
1. Cut a 4 x 6" card base from the Graphic 45 collection.
2. Cut a 3.75" x 5.75" cream panel. Distress the edges and glue to the front.
3. Cut a 3.5" x 5.5" piece of Whitewash collection, with the light green core. Emboss with the folder, then use the Core'dinations Sanding buddy to sand the raised areas, exposing the green areas of the paper. Glue to the card.
4. Tear two sections of the same paper for center panels, and glue to the center of the card.
5. Use the same color paper as the card base to die cut the Decorative Lace Border. Cut into two sections. Glue the large scallops to the card and the smaller border to the edge of the card as shown.
6. Die cut Carnations using the Whitewash collection - this time choose a peach colored core. Sand over the petals to create a shabby look and to expose the peach.


Supplies for Project 2
Core'dinations Whitewash Collection Cardstock
Core'dinations Graphic 45 Signature Series Cardstock
Zva Creative Gems: CRW-03CB-143; CRW-07CA-151
Spellbinders - Carnation Creations Die
Heartfelt Creations- Decorative Lace Border Die
Sizzix Embossing Folder - Damask
May Arts Tulle
True Color Fusion Ink - Kiwi
Heidi Swapp Color Shine - Gold
Xyron - Adhesive
Martha Stewart Micro Beads
Project 3 - Poppies Mixed Media Panel
My final project is a mixed media wall hanging. The panel is 12 x 12" and it's in a 16" square frame - to give you an idea of the dimensions. While this piece was very involved, there are tons of techniques that anyone could apply. I was inspired by the gorgeous antique book - that I used as part of my focal point, and wanted to add handmade poppies to mimic the original graphics.


I removed the pages of the book, and made a shadowbox to replace them. I used the Gilded Life Vintage Damask and French Script Texture plates to emboss the Chocolate Box papers, and then I sanded the raised areas to expose the blue core. The Crowned Medallion pendant was used as the treasure in my box. I used embossing powder over parts of it, to make it look like a time worn relic - and added a handmade poppy to the center.


I used a combination of Spellbinders dies to create the poppies including the Create a Rose and the Create a Gerber Daisy, as well as leaves and centers from Heartfelt Creations/Spellbinders. I love the antique look of the sanded leaves - perfect for vintage projects. I added a mix of black buttons and pearls to help tie in to the black matting in the frame.

Pearl buttons were added to the May Arts Ribbon .

Subscribe to:
Posts (Atom)