Monday, August 19, 2013

May Arts Ribbon Cutting Blog Hop


The May Arts Ribbonistas are so excited - and we know you will be too...to celebrate the launching of the new and improved May Arts Ribbon Website. This celebration is so big that  last year's design team has joined up with the new design team for one more hop.  And big prizes? Oh yeah - over $1000 in goodies are up for grabs!  Leave comments on any of the designers  blogs for entries to win!


I interpreted "ribbon cutting" by cutting into a brand new roll of ribbon! And honestly, this ribbon is so yummy, I don't know how I have resisted using it, until now.

  
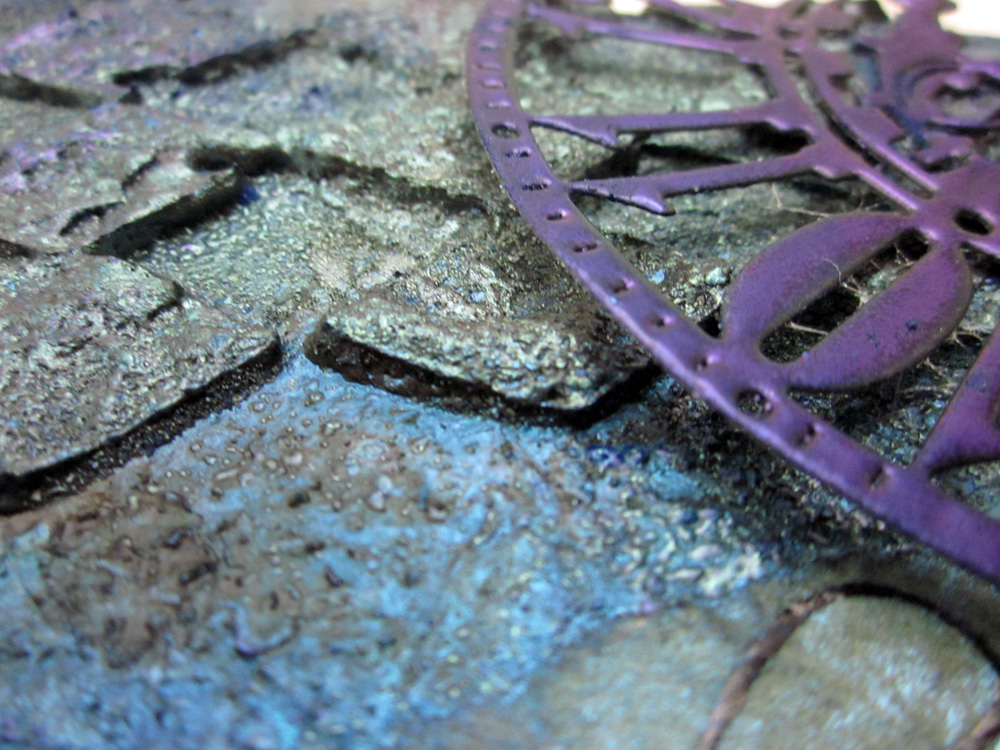
I created a pocket card, decked out with May Arts ribbons - and my tag, has a piece of ribbon with "Congratulations" stamped on it. Of course, this is congratulating May Arts Ribbon and Bethney, the Ribbon Lady, on such a fantastic new site!


The hop is only two days, but don't worry, you will see so many ribbon ideas to inspire you!  Here is the line up for today:
·         Christina Colón
·         Gini Williams Cagle
·         Emily Lanham
·         Jenifer Cowles
·         Jessica Kephart
·         Courtney Lee
·         Latrice Murphy
·         Charlene Driggs
·         Erin Thiem

May Arts Ribbons 

Partners In Craft Supplies

Other Supplies:
Black Tag
WorldWin Papers Kraft Cardstock
CTMH Ink, Enameled Number Tag

Steampunk Canvas


I love trying new techniques and creating mixed media explorations.  A week or so ago, I had finished the base of this canvas –  it was covered with embossing powders, pastes and sprays, but had no final decorations added to it. I decided to add some steampunk elements to finish it out. 


Supplies

 Stamps
Hampton Art / 7gypsies  Time is Precious (PS0742), Distressed Clock (PS0679)
 Ink
Clearsnap  Top Boss – Watermark ink
Other Supplies
WorldWin Cardstock
Lindy’s Stamp Gang Embossing Powder  
 Moon Shadow Mists
 Starburst Mist
Dreamweaver Black Embossing Paste
TCW stencil
Gesso
Tissue Paper
Canvas
Xyron Mega Runner

Here is how I put the canvas together-
Crumple tissue paper and run through Xyron 5” Creative Station to apply adhesive to the surface.  Tear pieces of the paper and lay onto the canvas.  Cover the entire canvas this way.  Paint a layer of gesso over the tissue paper and allow to dry. Rub the watermark ink over the high spots of the canvas and heat emboss with the dark blue powder. Spritz with mists. Randomly stamp the watermark ink across the canvas and sprinkle with the light blue powder and heat emboss. Mist again.  Use a stencil template to apply embossing paste in a diamond pattern. While wet, sprinkle with embossing powder, and heat set immediately.  This will cause the embossing paste to bubble some. Add another layer of mists and more random embossing powder.   Stamp the sentiment and the clock onto tissue paper with watermark ink, and heat emboss with a black powder.  Glue onto the canvas and spray heavily with the mists and allow to air dry.  Die cut the Steampunk elements and rub with the watermark ink, and heat emboss 3 layers of powder.  Apply to the canvas.  

If you would like more explanation, please check out my video tutorial. 


Friday, August 16, 2013

Don't Follow Your Dreams, Chase Them


I thought this hot air balloon stamp was so cool, when I saw it from Viva Las VegaStamps! and knew I had to have it.

This is a super easy fold card, but I think it's really nice for a more masculine type card.

Cut your paper 6 x 12 and score at 3" and 6".  That's it!

Add a die cut frame to the front panel for your sentiment, and decorate how you like.


Stamps: VLVS
Scoring tool: Scor-Pal
Patterned Paper: CTMH
Ink: CTMH

Wednesday, August 14, 2013

Heartfelt Creations New Release - Christmas Card Collection

We are pleased to present the Christmas Card Collection. The Christmas Card paper pad has 76 card fronts that will enable you to create quick and easy Christmas cards that are embellished or simple- you pick! This paper pack is a fantastic solution for getting the most beautiful cards for the least amount of time. If you don’t need one side, flip it over and use the other side! The coloring is done for you. There are many panels for utmost variety and the best  selection. The stamps and dies released with this collection are absolutely festive and ornamental. The gorgeous type and frames will help you create the most beautiful Christmas project your friends have ever seen!
Leave a comment on the Heartfelt Creations blog by August 20th to be eligible to win the entire collection.


Heartfelt Creations Products
Christmas Card Collection HCDP1
Love At Christmas PreCut Set HCPC 3554
Ornamental Add On Die
Other:
May Arts Ribbon QM16
WorldWin Cardstock
Want2Scrap Pearls
ColorBox Dye Ink - Raspberry
 Xyron Mega Runner and Creatopia

Stamp the wreath flourish across the background paper using red ink.  Attach to a card base.  Cut a card front from the patterned paper, distress the edges, and wrap ribbon around the center.  Tie a bow to the side. Cut three decorative accents with the die set.  Use a matching card front to cut the circular sentiment.  Attach with foam adhesive.  Tuck the die cuts around the right side as shown.  Finish with pearls on the corner of the card. 

Monday, August 12, 2013

Save the Date


I created a wedding dress - as the focal point for this Save the Date card.  You could use this same idea for princess dresses, proms - all kinds of ways!  I added Xyron Magnet tape to the back so this could go on a refrigerator.
WorldWin Paper


Wednesday, August 7, 2013

Heartfelt Creations Inspiration

I created a sturdy gift bag from cardstock, and decorated it with Heartfelt Creations products.


Heartfelt Creations Products:
Burst of Splendor Paper Pad HCDP1
Dahlia Bouquet PreCut Set HCPC 3550
Timeless Amour Die HCD

Other:
May Arts Ribbon
Art Institute Glitter
Xyron Mega Runner
WorldWin Papers Cardstock

Create a tall bag from cardstock, using basic box making techniques.  Cover each side of the bag with patterned paper.  Cut a decorative panel from the paper, and stamp the dahlia centers on each side of the flower.  Trace the design with Dries Clear Adhesive, and sprinkle with glitter.  Hand cut two printed dahlias and shape in the palm of your hand, using an embossing tool.  Apply to the decorative panel with foam adhesive.  Cut two of the fancy hearts from the Timeless Amour set and glue at the top and bottom of the panel.  Add a cellophane bag to hold your goodies and tie off with a bow. 

Monday, August 5, 2013

Elegant Summer Card

 Can you believe August is already here? How is the summer going by so quickly? My card today is an elegant summer card, that would work well for any special occasion.


 The flowers and leaves were all cut with white cardstock, and colored with pigment inkpads.  You can see how this technique really shows off the beautiful embossing of the leaves.


WorldWin Paper
CTMH Ink
Xyron Mega Runner

Wednesday, July 31, 2013

Heartfelt Creations Inspiration


Welcome back for another day of Heartfelt Creations inspiration.   Today continues highlighting the Burst of Splendor collection.  I love the colors of this paper!

Heartfelt Creations Products
Burst of Splendor Paper Collection HCDP1 235
Open Leaf PreCut Set HCPC 3545
Bold Leaf PreCut Set HCPC 3547
Blooming Dahlia PreCut Set HCPC 3549
Vintage Floret Frame PreCut Set HCPC 3522
All Seasons Sentiments PreCut Set HCPC 3544
Classic Leaf Die HCD 736
Decorative Leafy Frame Die HCD 731
Metallic 3D Stamp Paint - Moss Green, Rose
Other:
Lindy's Stamp Gang mists
Faber Castel Gelatos
May Arts Ribbon
WorldWin Cardstock
Xyron Mega Runner, Creatopia

Stamp and cut the Decorative Leafy Frame die.  Dilute a little bit of the Stamp Paint with mists, and paint on the leaves and flowers.  Spray a little bit of plain mist onto your non-stick work mat, and paint the frame with a brush.  Stamp the Dahlia, and color with Gelatos.  Cut to fit the round center opening.  Stamp and cut the leaves, shape and apply to the lower right corner.  Cut the scroll from the patterned paper, stamp the sentiment, cut it apart and glue to the scroll. Mount onto the patterned paper and add ribbon to finish.

Monday, July 29, 2013

Thorn of a Rose Card


Graphic 45 Patterned Paper - Steampunk Spells
Lindy's Stamp Gang - Moon Shadow Mists - Bucket o Blood Red; Burnished Brass
May Arts Ribbon- Faux Burlap  445-15-32


Lindy's Stamp Gang July Color Challenge


Are you ready for some mixed media inspiration? I hope so, because I've got a canvas to share as well as a video tutorial on my background technique. To be quite honest,  I decided to make the video after my canvas was completely finished - and of course no two projects ever turn out the same, but at least you can learn the techniques that I used.


I saw that Lindy's Stamp Gang was having a Color Challenge - and I was so excited, because I've loved their products for several years now - from the first time I tried them. So here was this month's palate - not my normal colors, but really fun!

Then, before I even had a chance to play along, they really sweetened the pot, by announcing they were having a design team call!  Now my mind started churning with ideas of sparkly, spritzy things, and I decided to make a canvas.


I hope you enjoy my video and find some helpful tips.  For the finished project, I added some Dusty Attic Chipboard - that I spritzed and embossed, and handmade paper flowers created with Cheery Lynn Designs Sweet Williams Flower Strip die.  After the flowers were shaped and assembled, I dipped them in melted embossing powder.

Lindy's Stamp Gang Products:


Thanks for stopping by, and wish me luck!