Wednesday, September 24, 2014
Heartfelt Creations Inspiration
Heartfelt Creations Products and Products Carried by HC
HCDP1 247 Classic Sunflower Paper Collection
HCPC 3626 Classic Sunflower PreCut Set
HCD 753 Classic Sunflower Die
Other Products Used
Creative Embellishments Chipboard - Twig Frame With Fall Leaves
Zva Creative - Crystal Alphabet CRP-01CB-101, Flower Centers CRW-06CA-151
Art Anthology Dimensional Crystal Paint - Red Corvette, Sunbeam
Gelatos
Core'Dinations Cardstock
Distress the edges of the patterned paper. Cut a piece of patterned paper to fit behind the chipboard frame. Paint the chipboard leaves and attach to the frame. Fussy cut the sunflower corner from the paper and glue to the lower left corner. Color the crystal letters with Copic marker to match your layout and create your title in the center of the twig frame. Stamp and cut the flowers using the coordinating die. Color with gelatos, mist with water and shape. When dry, glue the flowers together. Add a flower center. Arrange dimensional flowers with the printed flowers. Cut a photo mat from the paper collection and add photo to finish.
Tuesday, September 23, 2014
Until a Moment Becomes a Memory
This weekend, I decided to try to get caught up with some scrapping and enter a few great challenges along the way. I really love adding mixed media to my layouts and have found that adding gorgeous chippies gives me a great place to do some experimenting with different mediums.
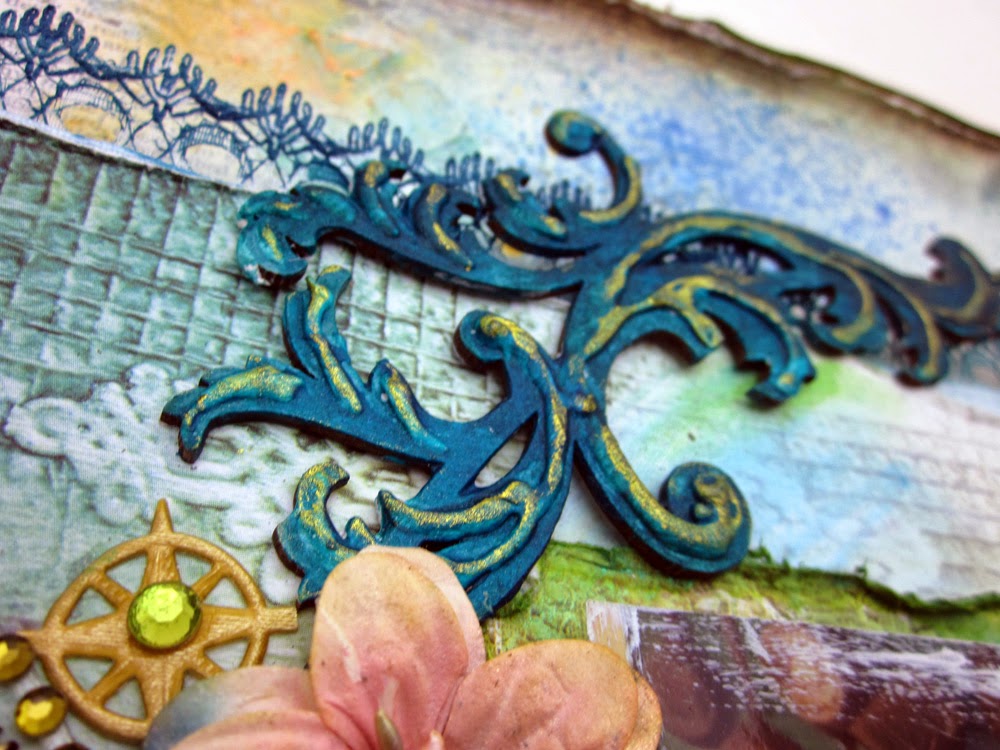
After I painted this piece of chipboard, I added some details with a white Posca pen and added a thick layer of Dusty Attic Clear Crack Varnish over the top. You can see the beautiful deep cracks it created.
I will have a few more projects to share with you through the week that I finished up this weekend. Have a creative week!
Challenges:
After I painted this piece of chipboard, I added some details with a white Posca pen and added a thick layer of Dusty Attic Clear Crack Varnish over the top. You can see the beautiful deep cracks it created.
I will have a few more projects to share with you through the week that I finished up this weekend. Have a creative week!
Challenges:
Scrap Around the World - September
(I was inspired by the pastel colors of the books with the gilt highlights)
Labels:
dusty attic,
faber-castell,
Fun Stampers Journey,
Prima
Monday, September 22, 2014
May Arts, Authentique and Imagine Crafts Blog Hop Day One
Welcome to the first day of the awesome May Arts, Authentique and Imagine Crafts hop. I know you are going to have fun and be inspired all week long. As always, we have some wonderful prizes to give away - 3 prize packs with goodies from each of these wonderful companies! Leave comments along with way for more chances to win.
When I saw this cheerful patterned paper, I instantly thought of quilt squares and decided to add my own faux ribbon quilting. I took a matching piece of patterned paper and ran it through a Xyron adhesive machine to put adhesive on the back side. I then laid ribbons over the sticky part to create a piece of ribbon "fabric". Then, I flipped the paper back over and cut strips that matched where I wanted to add the ribbons and adhered it to the base paper. I inked the edges of my papers with the Orange ink (Morocco) and then sprayed a little bit of the Tangelo Fireworks onto my craft mat, and painted the edges of the quilted ribbons to make them blend a little better. I also sprayed the sequin heart with the Fireworks to match the color scheme.
May Arts Ribbons
SK28 1.25" Silk Ribbon
382-14-28 1/4" Twill Ribbon with Chevron Stripes
471-5-28 5" Tulle
366-38-28 3/8" Satin with Knotted Edge
444-58-28 5/8" Faux Canvas/ Lightweight Ribbon
A478-15- 30 1 1/2" Adhesive Sequin Hearts
Partners In Craft Supplies
Imagine Crafts/Tsukeniko: Fireworks - Tangelo
Memento Luxe - Morocco
Authentique -Radiant 6 x 6 paper Pad; Components
Other Supplies:
Zva Creative Gems
Xyron 9" Creative Station
When I saw this cheerful patterned paper, I instantly thought of quilt squares and decided to add my own faux ribbon quilting. I took a matching piece of patterned paper and ran it through a Xyron adhesive machine to put adhesive on the back side. I then laid ribbons over the sticky part to create a piece of ribbon "fabric". Then, I flipped the paper back over and cut strips that matched where I wanted to add the ribbons and adhered it to the base paper. I inked the edges of my papers with the Orange ink (Morocco) and then sprayed a little bit of the Tangelo Fireworks onto my craft mat, and painted the edges of the quilted ribbons to make them blend a little better. I also sprayed the sequin heart with the Fireworks to match the color scheme.
May Arts Ribbons
SK28 1.25" Silk Ribbon
382-14-28 1/4" Twill Ribbon with Chevron Stripes
471-5-28 5" Tulle
366-38-28 3/8" Satin with Knotted Edge
444-58-28 5/8" Faux Canvas/ Lightweight Ribbon
A478-15- 30 1 1/2" Adhesive Sequin Hearts
Partners In Craft Supplies
Imagine Crafts/Tsukeniko: Fireworks - Tangelo
Memento Luxe - Morocco
Authentique -Radiant 6 x 6 paper Pad; Components
Other Supplies:
Zva Creative Gems
Xyron 9" Creative Station
Monday
Tuesday
Wednesday
Thursday
Friday
Labels:
Authentinque,
Imagine Crafts,
May Arts Ribbon,
Tsukineko,
Xyron,
Zva Creative
Wednesday, September 17, 2014
Heartfelt Creations Home Decor
Heartfelt Creations Products and Products Carried by HC
HCDP1 247 Classic Sunflower Paper Collection
HCPC 3628 Sunflower Bouquet PreCut Set
HCPC 3630 Summer's Day PreCut Set
HCPC 3626 Classic Sunflower PreCut Set
HCD 753 Classic Sunflower Die
HCD 748 Arianna Blooms Die
HCD 745 Luggage and Tags Die
Sparkletts
Other Products Used
May Arts Ribbon Paper Cord Ribbon
Gelatos
Core;Dinations Cardstock
Xyron 5" Creative Station
Wooden Flower Pot, Birdhouse and dowels
Golden Paints
Paint the store-bought wooden flower pot, birdhouse and dowels. Cut paper to cover the flower pot and birdhouse, using the Classic Sunflower Paper Collection. Stamp the Sunflower Bouquet on the large area of the flower pot, color with gelatos and ink the edges of the paper before gluing on. Die cut a tag, and use paper twine to tie around the flower pot. Stamp and cut the flowers using the coordinating die. Color with gelatos, mist with water and shape. When dry, glue the flowers together. Add a flower center from the Arianna Blooms die set, and color a sparkletts with a Copic marker to match your flower. Glue flowers to dowels. Stamp and cut the butterfly and glue to the birdhouse to finish.
Monday, September 15, 2014
Please Vote!
I am so excited to say that I had three projects chosen as semi-finalists for the Spellbinders/ A Gilded Life Contest. Now this is no little prize - the top winner will receive an all-expense paid trip for two to the Spellbound Art Retreat in California! But that being said, I need all my friends to vote!
Go to the Spellbinders blog - http://spellbinderspaperarts.com/community/Blog/Post/14-09-14/Spellbinders_Creating_A_Gilded_Life_Contest_Finalists.aspx?Page=1&Blogs=Post
You vote by clicking under the photo the project (Mine are #'s 6,8,12) You just get one vote (And I couldn't open this up with Firefox, and had to use IE instead).
Thanks so much for taking a minute to vote!
Go to the Spellbinders blog - http://spellbinderspaperarts.com/community/Blog/Post/14-09-14/Spellbinders_Creating_A_Gilded_Life_Contest_Finalists.aspx?Page=1&Blogs=Post
You vote by clicking under the photo the project (Mine are #'s 6,8,12) You just get one vote (And I couldn't open this up with Firefox, and had to use IE instead).
Thanks so much for taking a minute to vote!
Friday, September 12, 2014
March to the Beat of Your Own Drum
Hello, lovely blog followers! Today I have a mixed media layout to share with you that brings back so many wonderful memories for me. The photo is from our Disney trip last year (which was a complete surprise to my nephew). It was really the best trip ever. Also, growing up, my great -grandparents had peacocks...so peacock feathers decorated everything! Now, that may have been a bit of an overkill, but now, peacock feathers always make me smile. These feathers started off as plain chipboard, and I added lots of inks and mists to create their coloring.
Thanks for stopping by!
Supplies
7 Dots Studio: Patterned Paper - 9th Wave (Sea Foam, Wavy Ocean)
Dusty Attic Chipboard ( Mini ABC Tile Set; Rustic Charm Frame Set; Vine Corner #2; Baroque Frame Set- Circle; Peacock Feather, Nameplate #2)
Dusty Attic Flowers ( Bridal Veil)
DCWV - Corrugate Neutrals
Wow Embossing Powder
Zva Creative: Gems - CRW-04CB-132; Flourish - CR-05CA-108
Tsukineko: Delicata (Golden Glitz); irRESISTible ( Bahama Blue, Gold)
Lindy's Stamp Gang: Opal Sea Oats, Sea Mint Green, Cocklebells Coral; Azure Sea Asters: Tibetian Teal Poppy
Prima: Mask
Core'Dinations Cardstock
Golden: Modeling Paste
Challenges:
7 Dots Studio - The Five Senses (I chose the sense of hearing)
Labels:
7 Dots Studio,
core'dinations,
dusty attic,
layout,
May Arts Ribbon,
Prima,
Tsukineko,
Zva Creative
Wednesday, September 10, 2014
Heartfelt Creations New Release - Classic Sunflower Collection
Heartfelt Creations Products and Products Carried by HC
HCDP1 247 Classic Sunflower Paper Collection
HCPC 3630 Summer's Day PreCut Set
HCPC 3627 Sunflower Stem PreCut Set
HCPC 3626 Classic Sunflower PreCut Set
HCD Classic Sunflower Die
Spellbinders Classic Oval Large
Spellbinders Floral Ovals
Other Products Used
FlowerSoft Ultrafine Black
Fun Stampers Journey - Licorice Ink
May Arts Ribbon - 1.5" Faux Burlap; Paper Cord Ribbon
Art Anthology Colorations - Warm
Copic Markers
WorldWin Cardstock
Cut a 6 x 6" patterned paper piece from the Classic Sunflower collection. Ink the edges and distress. Die cut an oval window on the left side. Stamp the Sunflower Stem on the polka dot paper. Color the image, ink the edges and glue behind the window. Add ribbon. Die cut the Floral Oval and glue around the stamped image. Stamp, cut, color and shape the Classic Sunflowers twice and use the largest flower. Add Flower Soft to the center. Apply over the stamped image using foam adhesives. Stamp the butterfly, cut, and color. Glue just the butterfly body to the card. Mount on a cardbase.
Monday, September 8, 2014
Guest Designer for Craft Hoarders Anonymous
Hi! My friend Gloria Stengel asked me a few months back to be a guest designer for her Craft Hoarder's challenge - and I couldn't have been chosen for a more fitting challenge - Challenge #15 All the Pretty Flowers. This challenge is for all of you flower hoarders! Maybe you
hoard pre-made flowers. Maybe you hoard flower punches or dies. Maybe you hoard
flower stamps. "Dig" out those flowers and use them on your project! There are some great prizes, so be sure to head over and get your entry in!
Supplies
Heartfelt Creations Delicate Asters Die Set HCD 726
Heartfelt Creations Cut Mat Create 1A Die HCD 749
Heartfelt Creations Delicate Asters PreCut Stamp Set HCPC 3494
Heartfelt Creations Delicate Asters Collection Patterned Paper HCDP1 226
Spellbinders Exquisite Labels Eleven Die
May Arts Ribbon GC07
Grand Caliber Machine
Core'Dinations Cardstock
Xyron Adhesive
Close To My Heart Ink
Wednesday, September 3, 2014
Antiqued Vintage Background for Mixed Media
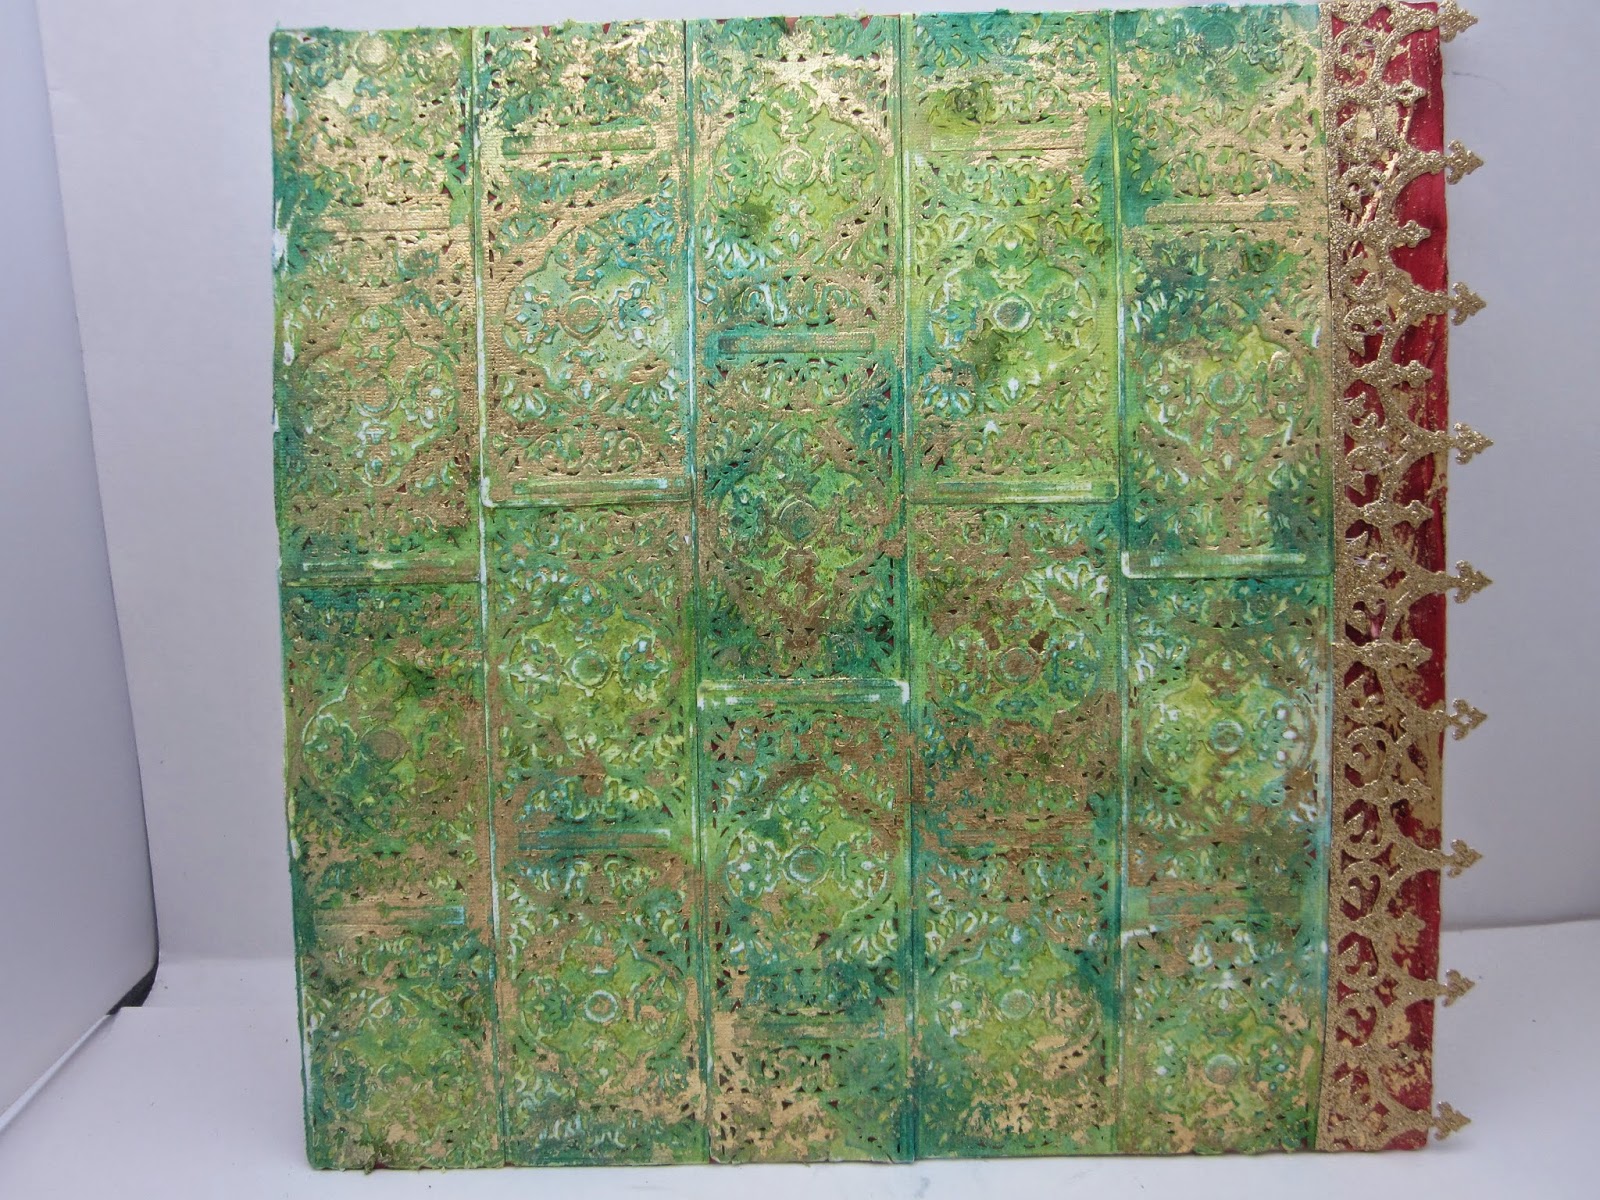
Hi, today I'm going to be sharing how I created the background for this detailed mixed media canvas. As much texture as you see now it's hard to believe it started out as a wooden panel and plain cardstock - but it did!
I inked over the raised areas with Blue Lagoon ink.
I misted over the embossed area with Grass and Waimea Bay Colorations. I left a small border of red on the left side, and added Big Dip 'O Ruby and Red Velvet Sorbet paints to add more depth.
I came back in and sanded some of the high areas to add to the distressed look and put a die cut over the red border. Finally, I used a glue stick over some raised areas and added gold leaf. This produced a background that looked like it took centuries to gain this much patina and depth! Just the look I was going for!
First, I painted my board with Art Anthology Gesso and set it off to the side.
I began diecutting these panels using A Gilded Life's Vintage Brocade die.
Since my final design was going to have red poppies on it - I wanted to tie that color into the background. I sprayed Art Anthology Colorations over my gessoed surface using Heart. This way, the small openings in my embossed card stock would have red peeking through. It's not a blaring red background, but it really helped to tie it all together.
I began gluing the embossed paper to the substrate, making sure to arrange them off-set to each other.
I misted over the embossed area with Grass and Waimea Bay Colorations. I left a small border of red on the left side, and added Big Dip 'O Ruby and Red Velvet Sorbet paints to add more depth.
I came back in and sanded some of the high areas to add to the distressed look and put a die cut over the red border. Finally, I used a glue stick over some raised areas and added gold leaf. This produced a background that looked like it took centuries to gain this much patina and depth! Just the look I was going for!
I decorated my panel with handmade poppies, antique buttons, and an altered vintage book.
Thanks for stopping by!
Heartfelt Creations Inspiration
Heartfelt Creations Products and Products Carried by HC
HCDP1 246 Festive Christmas Paper Collection
HCDP1 Sunny Day Paper Collection
HCD 750 Cut Mat Create Die Set1B
HCD 734 Sun Kissed Fleur Die Set
HCD 735 Gift Ensemble Die Set
HCPC 3622 O Little Town PreCut Set
HCPC 3625 Festive Notes PreCut Set
HCPC 3557 Christmas Poinsettia PreCut Set
1259723 Art Institute Glue (Dries Clear)
Paper Blossoms Molding Mat
Paper Blossoms Tool Kit
Sparkletts
Other Products Used
May Arts Ribbon SN14
Memento Ink - Tuxedo Black; Delicata - Golden Glitz
Copic Markers
Xyron 9" Creative Station, Teresa Collins Foam Adhesives, Teresa Collins Adhesive Kit Box
WorldWin Cardstock
Die cut 4 panels from the Gift Ensemble die set to assemble into a box. Cut panels to fit on the box sides from green wood grain from the Sunny Day paper collection, and stamp the Festive Notes stamp on them with gold ink. Ink only the floral portion of the Christmas ornament from the O Little Town set, and stamp onto each panel. Color with Copic markers. Assemble the box. Stamp, cut and color the Poinsettia flowers, shape with the Paper Blossoms tools. Add a multi loop bow, and greenery cut from the Cut Mat Create 1B die set to finish.
Subscribe to:
Posts (Atom)