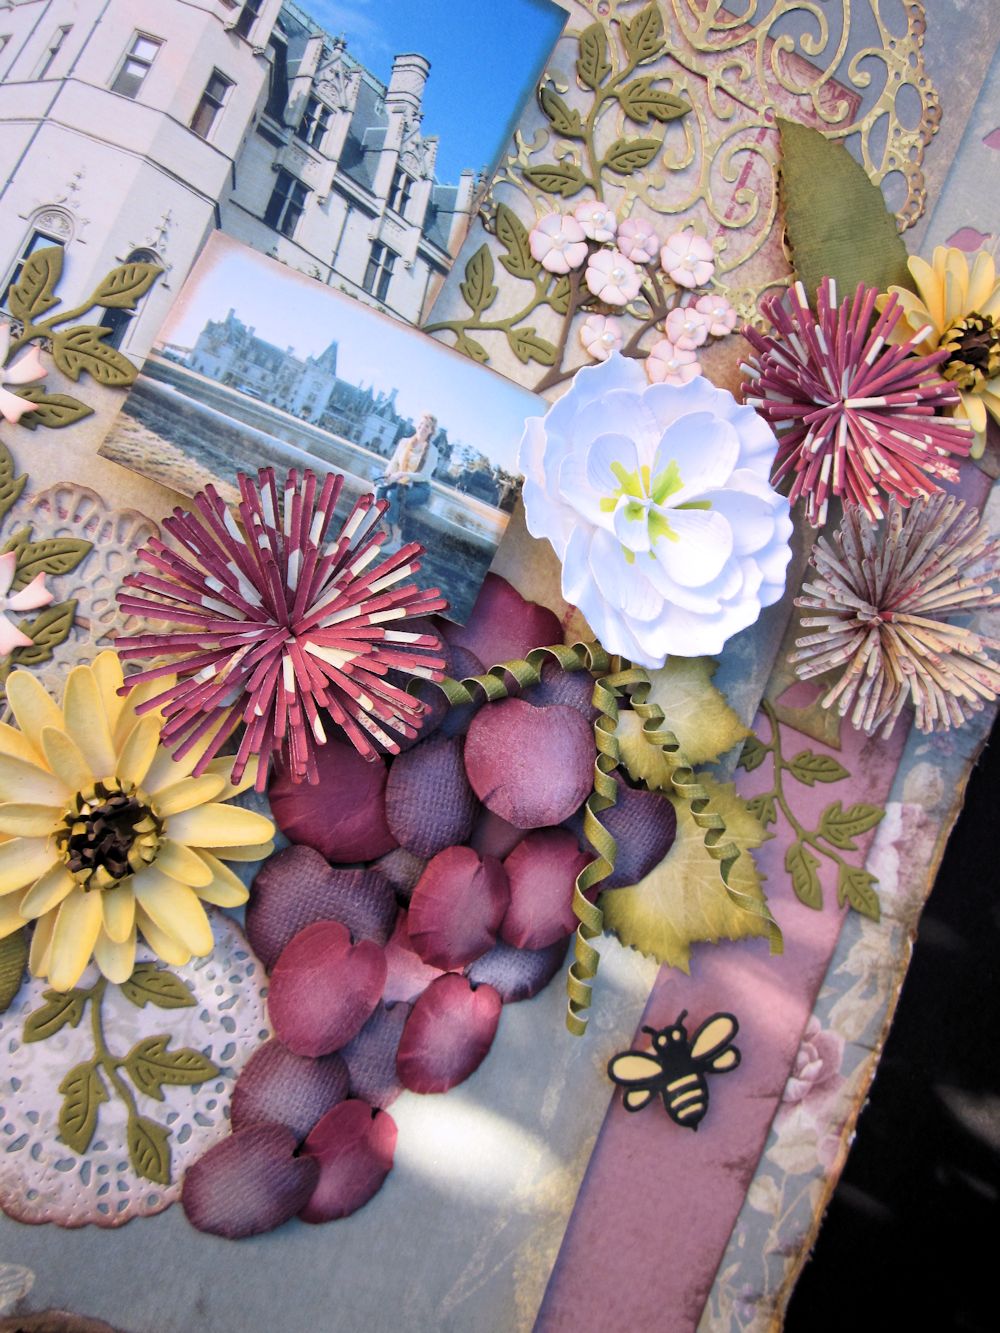
Sunday, January 27, 2013

Scor-pal and Simple Stories Week

This week the Scor-pal Design Team had the privilege to work with products from Simple Stories.  I know everyone was so excited when we got our goodie packages.  I recieved the Take A Hike Collection - and as soon as I saw it, I knew I wanted to create a paper backpack box that I had seen awhile back on Splitcoast Stampers.

 
May Arts Ribbon Paper Twine 420-33
Epiphany Crafts Round Epoxy
CTMH Velcro Dots
 
 
I used a tutorial designed by Mary Arima - and it's very clear and easy to understand, so I will just let you refer to her original post on Splitcoast Stampers.
 
 
When you are working with printed templates, such as the one used for this project, I would suggest using small metal clips to attach your template to the designer paper.  This will keep anything from slipping and will provide a much more accurate cut.


As soon as I finished this project, my nephew took off with it, and promptly put it on the back of one of his stuffed animals!
 
 
I used the printed bingo card from this collection to make a small tag that fit perfectly into the backpack.  Just the perfect little note to tuck inside.
 
 
The other little tip that I can share with you, is that I used small adhesive velcro dots for my closure on the box.  It also works great to keep fancy fold cards shut.
 
I hope you had a chance to see all of the other projects that the design team created this week - if not be sure to head over to the Scor-Pal blog and take a look.  As always, there is blog candy involved - so don't miss out!

Friday, January 25, 2013

New Stamps from Hampton Art

Eat. Drink. Enjoy. card
For the Winter 2013 CHA, I made more than 20 projects for the companies that I work for - and I'll be sharing those with you over the next few weeks.  Today I've got a fun card that I created for Hampton Art/ 7gypsies line of stamps.  I love the silverware stamps - they look so great embossed with silver.
Supplies:
Hampton Art licensed 7gyspies stamps: Eat, Drink, Enjoy (PS0745); Silverware (PS0730)
Clearsnap:
Pigment Ink: Chianti
Top Boss Watermark Ink
Other:
May Arts Ribbon: 406-15-14 Natural Burlap/Stripe Edge
Silver Embossing Powder
Spellbinders: Standard Circles Large
Fiskars Punch
WorldWin Papers Cardstock
Farmhouse Paper Company: Fair Skies
Adhesives: GlueArts Glue Glider Pro – Perma Tac; Helmar Zapdots; Zipdry

Instructions:
1. Stamp the sentiment on cream cardstock. Cut with a circle die to resemble a dinner plate. Ink the edges with the same red ink.
2. Stamp the silverware using embossing ink and heat emboss with silver powder. Fussy cut the images.
3. Take a small piece of burlap ribbon and fray the edges to look like a dinner napkin. Glue to the card base, then glue the fork on top. Add the knife and spoon to the right side. Use foam adhesives to raise the plate up a little.
4. Add a decorative punched border along the bottom edge of the “tablecloth”.

image

Wednesday, January 23, 2013

May Arts Ribbon and Cardmaker Hop


Welcome to the May Arts Ribbon and Cardmaker Hop!  There is a stellar line-up today to inspire you to add gorgeous ribbons to your cards.  Be sure to leave comments on any (or all) of the posts, to be entered to win your choice of 4 spools of ribbon!  Have you seen all of the new releases?  I'm sure you wouldn't have trouble finding four ribbons that you would LOVE to have!

 
Felt is always a fun element to add to a card - especially when paired up with ribbon.  I cut the butterflies using a Spellbinders die set and very cheap felt.  I added decorative hand stitching around the butterflies, and then heated the felt up with a heat gun - which melted and shaped it.

To make the butterfly bow in the center - just tie a regular bow, and leave the ends long.  Loop them back under the knot and glue or stitch in place.
Hop List


You Are the Light of My Life


Welcome to another Wednesday full of inspiration from Heartfelt Creations! Today I'm sharing another card using the January release - Countryside Evening.


To make this 6 x 6 card, cut the base patterned paper at 5 3/4 square.  In the lower right corner, stamp the lantern image, and color the flowers and leaves.  Add stickles to the flower centers.  On white cardstock, stamp the image again, and fussy cut the lantern.  Color the image.  Rub Inka Gold over the lantern to make it look like aged brass.  Add Crystal Lacquer over the "glass" areas and allow to dry. Cut the smaller Decorative Blossoms Corner Die and tuck behind the blue patterned paper. Stamp the sentiment and cut with label die. Adhere with dimensional foam. Glue Dew Drops along the side of the label. Create flowers (a mix of single layer, and multi layered) using the Posy Patch Flowers - and shape with the paper blossoms tools.  Use Stickles in the center of the flowers to glue a Dew Drop. Arrange the lantern and flowers as shown.


Heartfelt Creations Products:

Other:
Spellbinders Labels 21
Stickles - Mermaid
May Arts Ribbon - 3/8" reversible satin - BM04
Copics: BG93, BG15, B95, Y26,Y28, YR15, YR18, YG17, YG45, YG99
Clearsnap Colorbos Harbor Pigment Ink
Memento Tuxedo Black
CTMH Sunshine Yellow Dye Ink
Bazzill Cardstock

Tuesday, January 22, 2013

JustRite Stampers Thank You Card


JustRite Stampers has been on a break from their challenges - so this is the first one of the new year. So, you know I had to play along!  This was a sketch week, which is always fun.

I stamped and embossed my background using Elegant Fronds. I then cut it using Spellbinders Resplendent Rectangles.  The Thank You is from Grand Sentiments (although it is supposed to be all on one line - I cut the words apart so I could center them in a circle.)  I added the Fancy Round Frame from Wow - Words or Whatever Chipboard - Isn't it gorgeous?!! It was bare chipboard, and I painted it with sparkly paint from Creative Inspirations.  The ribbon embellishment was made using May Arts Silk Ribbon and my favorite - Paper Cord.


Thanks for stopping by! I hope your week is great.

Monday, January 21, 2013

Wishing You Happiness


I loved this card from the moment that I made it - and now that the March issue of Scrap and Stamp Art has his the news stands, I can share it with you! Wedding cards are something that people treasure for years, so why not make something that will knock their socks off. 

This fancy fold card has an ornate floral belly band to hold it in the closed position. 


If you haven't picked up your copy of this magazine, grab one while you can.

Patterned Papers: Riddersholm Designs
Xyron: Mega Runner; 150 Create a Sticker; 900 Creative Station
Want2Scrap Pearls
Clearsnap Ink


Saturday, January 19, 2013

Words or Whatever Chipboard Debut!


I've been stalking my mailman for days, and finally my much anticipated box of chipboard from Wow -Words or Whatever  arrived.  I immediately sat down and started playing with all of the goodies.  If you are not familar with this line, you need to check it out! They have a wonderful selection of chippies - and an incredible line of heavy duty templates - AltaMATZ.  If you are looking for a source in the US - I noticed that Lindy's Stamp Gang has a nice selction!


This is a picture of me and my sister (about 40 years ago - yikes!) For the base, I misted the corners using the AltaMATZ 6 x6 Doily Corner .  The title was painted with gesso, and then spritzed and glazed with Glimmermist and Glimmer Glaze. My flourish was inked with Clearsnap Chalk ink, and then I stamped the background with a script stamp Hampton Arts/Graphic 45 Ladies Diary 1.


The flowers were stamped with the Hampton Art/ Doodlebug Sweet Background.

Be sure and check out the Wow - Words or Whatever Blog - for tons of lovely inspiration.  Our challenges will be starting back next month, so you might want to stock up now, so you will be ready to play along.

Supplies

Words or Whatever:
 Me and My Sister title; Flourish; , leaves, AltaMatz Doily Corner
Hampton Art:
Doodlebug Sweet Background; Graphic 45 Ladies Diary 1
Clearsnap Ink
 Mix'd Media Inkz - Leather;Color Box Fluid Chalk- Chestnut Roan; Olive Pastel
May Arts Ribbon
1.5" Crochet
Heartfelt Creations
 Clear cardstock
Other
Bo Bunny Patterned Papers - Little Miss
Want2Scrap Pearls
Tattered Angels: Glimmermist; Glimmer Glaze

Friday, January 18, 2013

Time Is Precious


Over the next few weeks, I will be sharing projects that I made for Hampton Art's Winter CHA release.  This card shows off one of the newest designs from 7gypsies. Be sure to keep watching the Hampton Art blog to see more of the new release!

Supplies:
Hampton Art 7gypsies licensed stamps: Time is Precious (SC0522)
Clearsnap
Top Boss Watermark Ink
Smooch Ink: Gold Lame
Other
May Arts Ribbon
Gold Embossing Powder
Spellbinders: Standard Circles Large
WorldWin Papers Cardstock
Kaisercraft Patterned Papers: Check In Collection
Adhesives: GlueArts Glue Glider Pro – Perma Tac; Zipdry; Scor-tape

Instructions:
1. Stamp the watch on a lightly patterned paper using the watermark ink. Emboss with gold embossing powder, then fussy cut. Stamp the hands of the watch using black ink.
2. Arrange the layers of the card as shown. Use Scor-tape to adhere the ribbon in a straight line. Glue the watch over the layers.
3. Emboss the sentiment in the upper right corner of the card, using the gold powder.

Wednesday, January 16, 2013

Heartfelt Creations Inspiration


Heartfelt Creations Products:
HCPC Melodious Songbird Precut Set
HCPC 3303 - Posy Patch Flowers PreCut Set
HCD - Layered Scalloped Posy Die
HCD 701 Posy Patch Die
HCD 729 Decorative Blossom Corner
HCDP1 229 Countryside Evening Paper Collection
Other:
Spellbinders Labels 28
Want2Scrap Pearls
May Arts Ribbon
Donna Salazar Mix'd Media Inkz: Honey, Patina
Copic Markers: B93, B95, B97, E31,E34, E53, YG25

Stamp the Meldious Songbird on Cryogen White paper.  Position Spellbinders Labels 28, so that the branches fill the label (the bird's head will be off of the label), and cut.While the paper is still in the die, ink the entire space using the  ink, then color the leaves and flowers using Copics. Remove the stamped image, and ink over the entire paper with  ink (going into the white border area as well).  Stamp another image of the bird and color and fussy cut.  Use dimensional foam to attach to base image. Add a small pearl for the eye. Stamp 7 of the smallest Posy Patch flowers and cut with the corresponding die.  Ink the edges with the blue ink.  Shape the petals and add to the base image.  Tuck small die cuts from the Layered Scalloped Posy die behind each side of the label 28, and mount on a rectangle of patterned paper.  Tuck the corner of the Decorative Blossom Corner underneath the bottom of the rectangle and add a bow.  Mount onto a 5 3/4" x 5 3/4" piece of dark blue patterned paper and attach to a 6" x 6" cream card base.


Monday, January 14, 2013