I love trying to re-create flowers using paper - and today, I challenged myself to make a thistle. I've always thought this was such an elegant flower, and I hope you like what I came up with.
I needed something for the base of my flowers, so I used some Creative Paperclay to form my basic shape.
After these were dry, I cut them in half, so that they would be flat on the backside, and then colored them with markers to blend into my flower colors.
(I would probably choose a little softer colors for my marker next time - but this did o.k.)
Now for the fun! I cut about 30 of the asterisk shapes( from
Build a Flower One, using green cardstock. Cup this by rolling a large flower shaping tool or stylus in the center in a circular motion. Pinch the two side together and curve the flat side into an arch shape. Add a small amount of glue to the flat edge, and start attaching these, row by row, starting at the top, and working down. The rows will be closer togther at the top, and get further apart as you work down.
Cover the entire base, and allow to dry. If you have bare spots, go back and add another cut.
The flower is complete in the same manner, except you will use the #7 pieces from
Embellishment #2 set. The stem is also from this set, and the leaves are from the
Build a Flower #2.
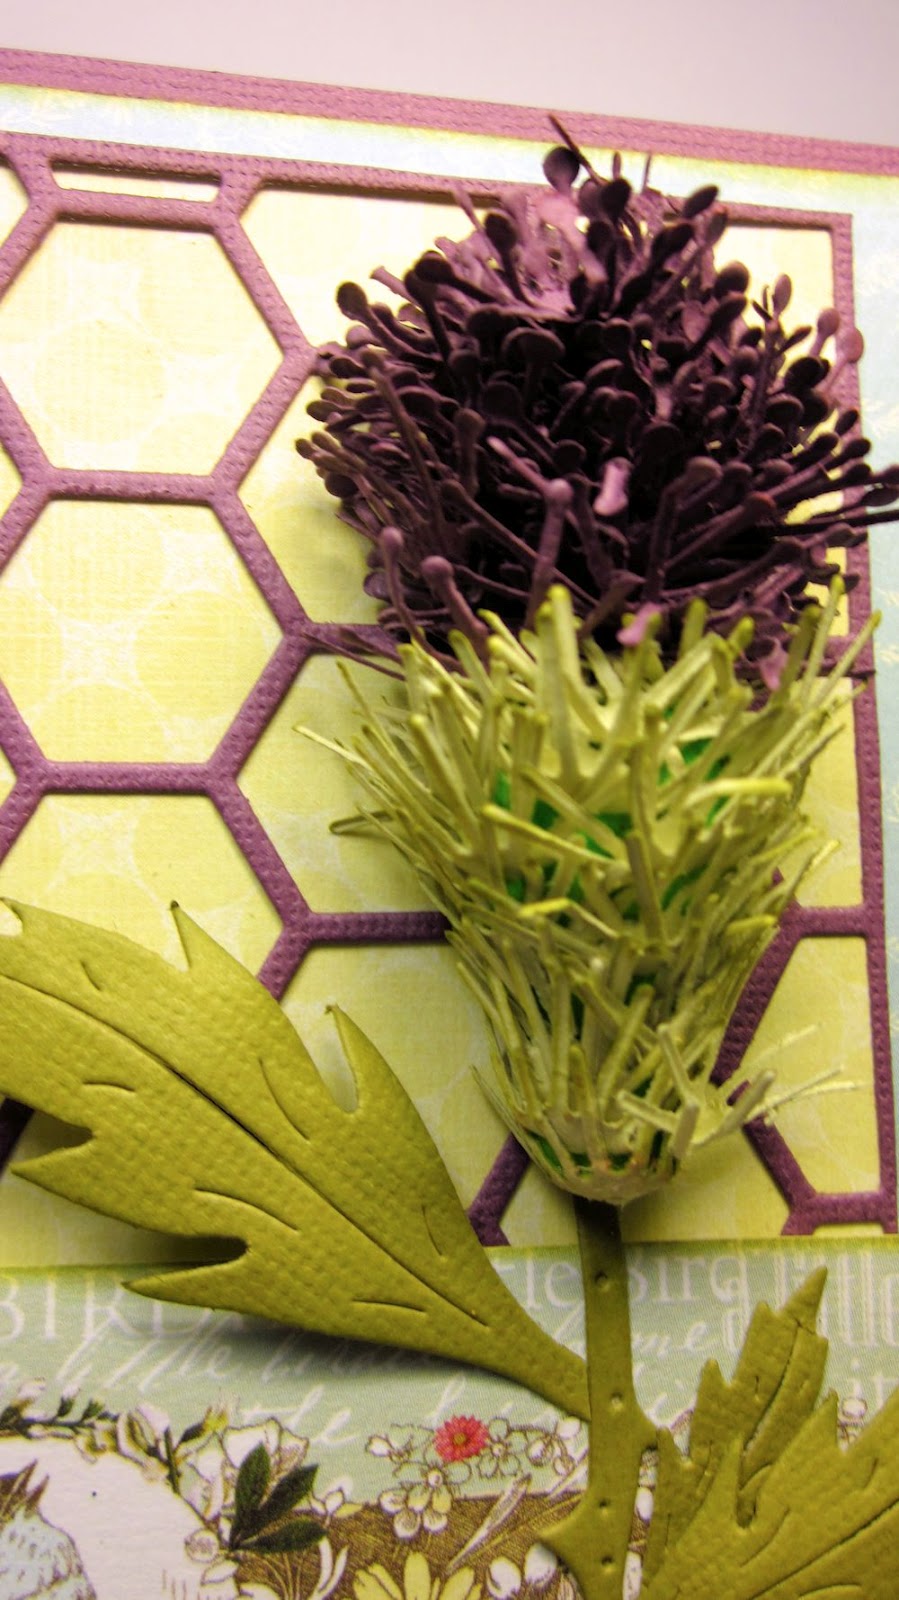
Here's a detail of the final flower.
The flower is sitting on a frame cut using the
Honeycomb frame. And finally just a little snippet of
Lace Light Deco Border - which reminds me...The
new challenge this week in Borders and Edgers! So add some borders to your project and play along, for your chance to win a $20 gift certificate to CLD!