Saturday, March 30, 2013

Couture Creations Subscribers Competition


All week I kept thinking that I needed to make a card to enter into the Couture Creations Subscribers competition - and it's been such a crazy week - this is the first chance that I got!  I do love these embossing folders, though - so I had to play along!

Thursday, March 28, 2013

Imaginisce and Xyron Blog Hop

Xyron and Imaginisce are teaming up this week - and let me tell you, we have had fun! I received the Good Dog Collection - perfect for my sweet Finley!


But sometimes, Finley is a little mischievous...so, I needed to have a reversible picture frame, for those times that he's been a little bad (and he needs to be in the dog house).


I've got a tutorial to share with you for my reversible picture, on the post below - but first, another project for those times when Finley is a good puppy (which really is most of the time).


I made a treat box, and added a tag and ribbon to dress it up.  Actually, I don't know that my dog really cares about his treats looking pretty, but how great is this to have to hand out to the pets of your family and friends? 

There are so many fun projects that you could make with this collection - and all of the stickers and embellishments that coordinate with the collection make it all come together with ease.

Be sure to follow the Xyron and Imaginisce Blogs to see all of the projects created this week!

Products
Thickers Alphabet Stickers
MLS Mini Alpha Stickers
Wooden Craft Frame

Xyron and Imaginisce Good Dog, Bad Dog Reversible Frame Tutorial


Here's a tutorial to create a reversible Good Dog/ Bad Dog Frame using Xyron Adhesives and Imaginisce Good Dog Collection.


Good Dog


Bad Dog

 Start with a wooden craft frame. Ink the edges with chalk ink.

Run the frame through the Creatopia Machine using Permanent Adhesive. (You can run things up to 1/2" thick through this machine!)


When the frame comes out of the machine, rub your hand over the  backing to burnish the adhesive onto the frame, remove the backing and adhere your patterned paper.  Trim to fit.

Turn the frame over, and run back through the machine to add adhesive to the other side, and repeat the process with a coordinating patterned paper.  Ink the edges of all patterned papers.

Cut a piece of cardboard to mat the picture, run through the Creatopia, and adhere patterned paper as above.  Use the Xyron Mega Runner to attach the photo to the mat.


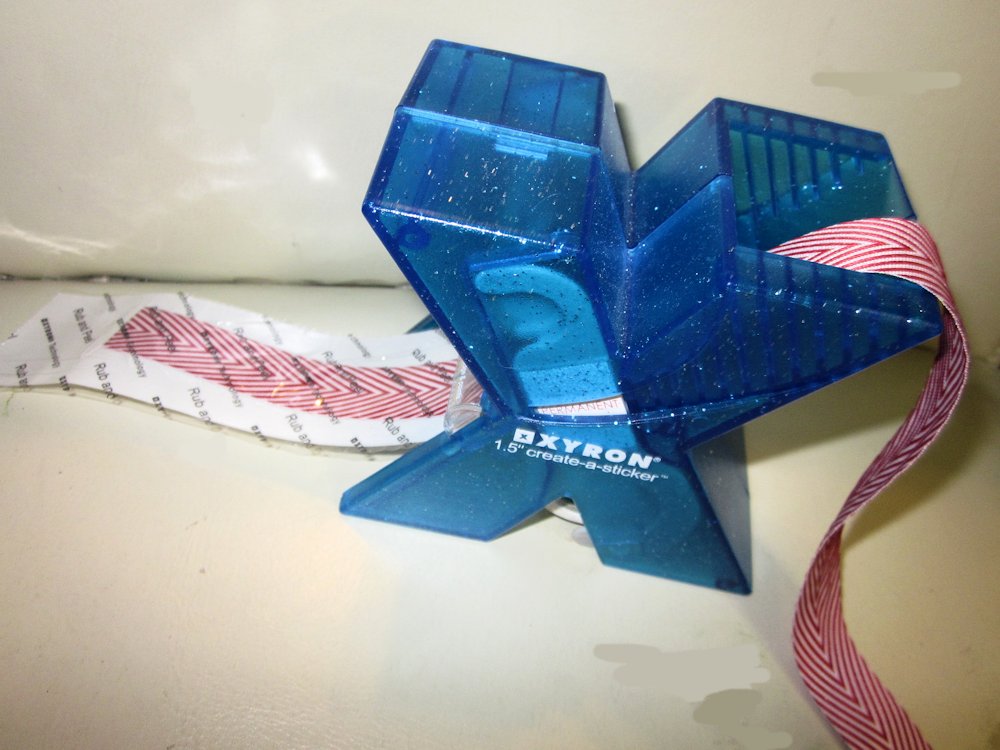
 Take a 15" length of ribbon, and run through the 1.5" Create-a-Sticker.

Only pull off a few inches of the paper backing at a time (to make it easier to work with), and create pleats as you attach the ribbon to the frame. If you find that you created too much ribbon sticker, simply leave the remaining backing in tact, and store for a later project.


Finish decorating with the coordinating stamps, stickers and chipboard from the collection.


Products
Thickers Alphabet Stickers
MLS Mini Alpha Stickers
Wooden Craft Frame

Wednesday, March 27, 2013

Heartfelt Creations Inspiration

Although it's still been cold, spring is here - as I've seen sweet little bunnies hopping around my yard. This stamp set from Heartfelt Creations is perfect for any of your spring projects.

Die cut the frame using the Radiant Rectangles die with white cardstock.  Color the paper with chalk ink, and then stamp the bunny image onto the die cut. Color the flowers with gelatos, and paint a thin layer of Stickles over the top. Stamp the image again onto a small print patterned paper,  Fussy cut the bunny and attach over the base image. Die cut one flower to add dimension, and add a pearl to the center.  Finish the card with a button.

Heartfelt Creations Products
Butterfly and Bunny PreCut Set HCPC 3524
Posy Patch Paper Collection HCDP1 231
Classic Editions Paper Collection HCDP1 224
Vintage Floret Die HCD 727
other:
Faber Castel Gelatos  - Pistachio, Metallic Melon

Clearsnap Donna Salazar Chox Ink - Petals, Sparrow
Stickles - Crystal
May Arts Ribbon Chevron Stripes - 382-34-17 Paper Cord 420-33
Xyron Mega Runner, 1.5" Create-a-Sticker

Monday, March 25, 2013

Gardening Magnolia


Tilda Watering Stamp and Patterned Papers from Magnolia
Robin's Nest Dew Drops

Wednesday, March 20, 2013

Heartfelt Creations Inspiration


Other:
Smooch Glitz - Plum Spice
Clearsnap Ink: ColorBox Plum Berry Pigment Ink; Mix'd Media Chox: Pomegranate, Sparrow, Sage
Want2Scrap Pearls
American Crafts Thickers Alphabet Stickers
Xyron- Mega Runner; Creatopia
Directions:
Stamp the Butterfly in the upper left corner of the background page, using the Plum Berry Ink. Ink the edges with the brown chalk ink. Fussy cut the leaves from the hydrangeas on the right of the paper and set aside. Take a second piece of the hydrangea print paper, and fussy cut the hydrangeas.  Add three strips of sheer ribbon down the center of the page. Cut a large decorative circle from the Spellbinders set.  Use foam adhesives to attach to the background paper, so that part of the circle goes over the flowers on the right side.  Use foam adhesives to put the cut out hydrangeas over the  base image (this will sandwich the circle between the two layers of flowers).  Stamp, cut and shape the smallest Posy Patch flowers, and randomly glue over the flowers.  Add Smooch Glitz to the centers.  Take the leaves that you had set aside, shape them and add them over the top layer of leaves.   Stamp and cut the Decorative Leafy Frame with the corresponding die. Color with the chalk inks.  Create flowers with the Vintage Floret stamps and dies to go on the frame.  Add pearls to the centers.Place on the large decorative circle, so that a little bit of the frame goes under the circle and a little bit goes under the hydrangeas.  Cut a smaller decorative circle.  Stamp and fussy cut the flower flourish  and create a dimensional flower with the vintage florets.  Place this in the lower left corner.  Add journaling to the circle.  Finish with a chipboard title and fluffy bow.

Monday, March 18, 2013

Graphic 45 2013 Design Team Audition

Let me just warn you - this is one long post! I've been waiting all year for the Graphic 45 design team auditions- and now that they are here, I've chosen some of my favorite projects to share with you; some are old, some are new, but I hope you will enjoy them all.  

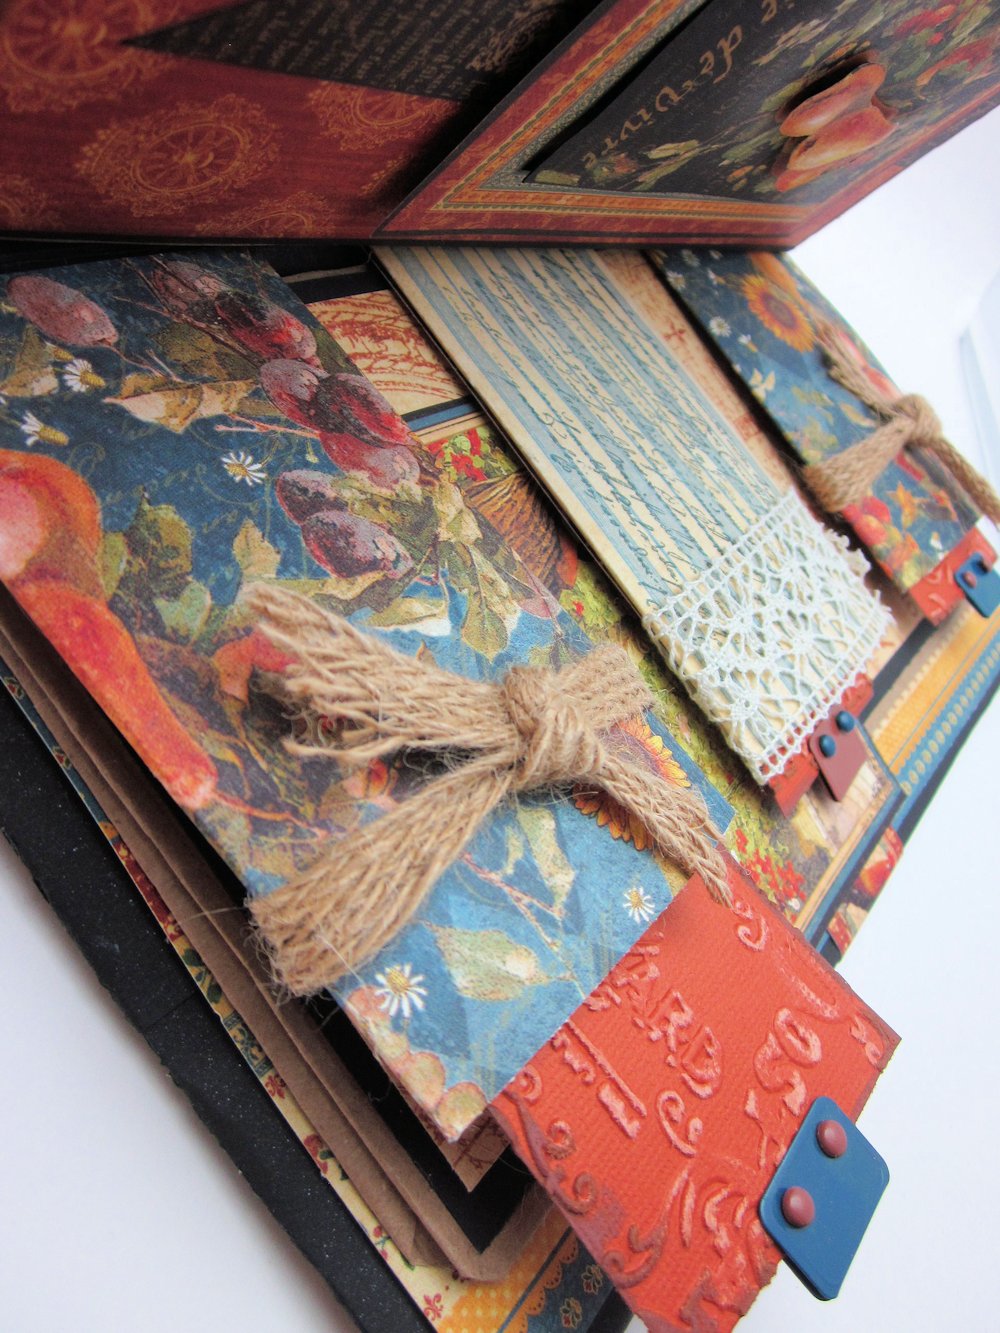
French Country Handmade Recipe Album  - This paper bag album has plenty of pockets for tucking in favorite recipes.

The altered wooden spoon on the front cover hints to the contents of the album.


(Waterfall feature)


A Ladies' Diary/ Hampton Art Stamps - Handmade Box tutorial here.


Le Cirque - Circus Tent box published in Score, Fold, Create  (Annie's Attic 2012)


Bird Song Layout


Bird Song Canvas


 A Ladies' Diary and Hampton Art/ Graphic 45 stamp. Tutorial for fancy fold card can be found here.


 Little Darlings and Hampton Art Stamps - Fancy Fold Card Tutorial is here.


Little Darlings


Tropical Travelogue Collection

.


 Graphic 45/Hampton Art Stamp - A Ladies Diary #2 Featured in the March 2013 Issue of Scrap and Stamp Arts Magazine


Bird Song - Tutorial for the handmade Alstroemeria Lily can be found here.

  A Ladies' Diary - Tutorial for handmade Buttercup flower can be found here.


Christmas Emporium and Hampton Art Stamps


An ABC Primer


 Thanks for sticking with me through this post! I hope I've inspired you to cut into those gorgeous Graphic 45 papers!




Hello Spring

 .  I am so ready for spring to really be here, I was happy to create this cheerful card. 


Graphic 45 Patterned Paper - Little Darlings
Core'Dinations Cardstock
JustRite Stampers lace Medallion Labels