Showing posts with label dies. Show all posts
Thursday, September 5, 2013
Monday, August 26, 2013
Beautiful Friend
School officially starts back today - so I thought it was a great time to start sharing more fall-themed cards. Just by adding some fall foliage to my flower cluster it really helped with the theme. After I cut my flowers, I painted them with Viva Decor 3D Metallic Stamp Paint, and then shaped them.
Hampton Art - stamps
May Arts Ribbon NQ33
Want2Scrap Pearls
WorldWin Papers Cardstock
Smooch Spritz
Viva Decor 3D Metallic Stamp Paint. Glitter Liner
Xyron Mega Runner
Labels:
dies,
Graphic 45,
Hampton Art,
May Arts Ribbon,
Viva Decor,
Worldwin Papers,
Xyron
Monday, August 19, 2013
Steampunk Canvas
I love trying new techniques and creating mixed media
explorations. A week or so ago, I had
finished the base of this canvas – it
was covered with embossing powders, pastes and sprays, but had no final
decorations added to it. I decided to add some steampunk elements to finish it
out.
Supplies
Stamps
Hampton Art / 7gypsies
Time is Precious (PS0742), Distressed Clock (PS0679)
Ink
Clearsnap Top Boss –
Watermark ink
Other Supplies
WorldWin Cardstock
Lindy’s Stamp Gang Embossing Powder
Moon Shadow Mists
Starburst Mist
Dreamweaver Black Embossing Paste
TCW stencil
Gesso
Tissue Paper
Canvas
Xyron Mega Runner
Crumple tissue paper and run through Xyron 5” Creative
Station to apply adhesive to the surface.
Tear pieces of the paper and lay onto the canvas. Cover the entire canvas this way. Paint a layer of gesso over the tissue paper
and allow to dry. Rub the watermark ink over the high spots of the canvas and
heat emboss with the dark blue powder. Spritz with mists. Randomly stamp the
watermark ink across the canvas and sprinkle with the light blue powder and
heat emboss. Mist again. Use a stencil
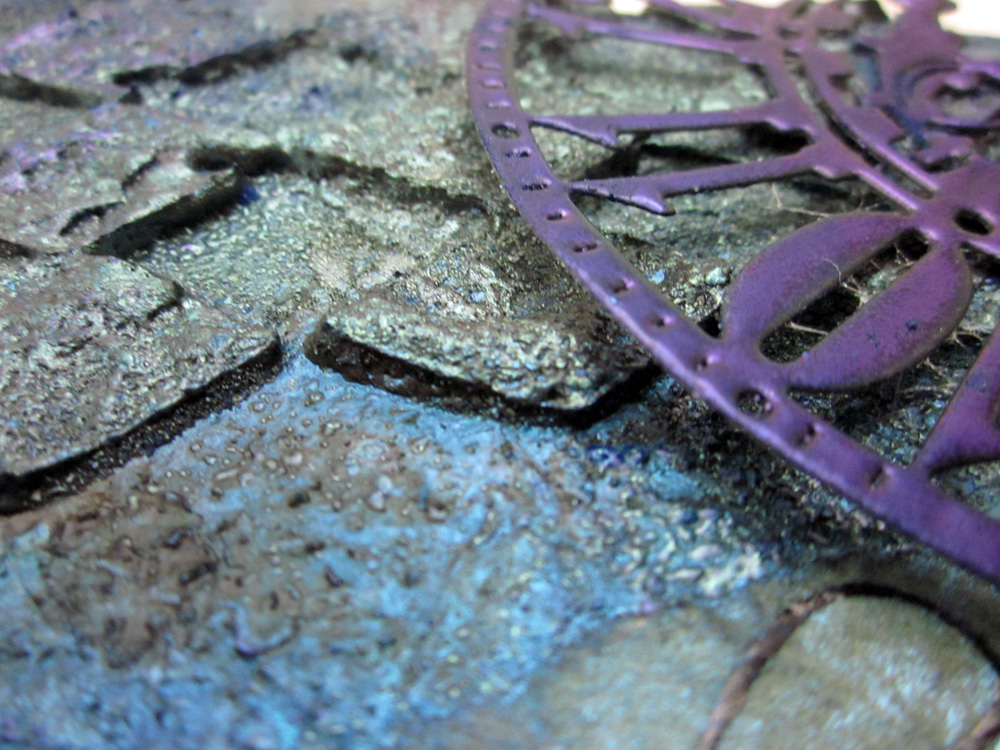
template to apply embossing paste in a diamond pattern. While wet, sprinkle
with embossing powder, and heat set immediately. This will cause the embossing paste to bubble
some. Add another layer of mists and more random embossing powder. Stamp the sentiment and the clock onto
tissue paper with watermark ink, and heat emboss with a black powder. Glue onto the canvas and spray heavily with
the mists and allow to air dry. Die cut
the Steampunk elements and rub with the watermark ink, and heat emboss 3 layers
of powder. Apply to the canvas.
If you would like more explanation, please check out my video tutorial.
Labels:
dies,
Hampton Art,
Lindy's Stamp Gang,
Worldwin Papers,
Xyron
Friday, August 16, 2013
Don't Follow Your Dreams, Chase Them
I thought this hot air balloon stamp was so cool, when I saw it from Viva Las VegaStamps! and knew I had to have it.
This is a super easy fold card, but I think it's really nice for a more masculine type card.
Cut your paper 6 x 12 and score at 3" and 6". That's it!
Add a die cut frame to the front panel for your sentiment, and decorate how you like.
Stamps: VLVS
Scoring tool: Scor-Pal
Patterned Paper: CTMH
Ink: CTMH
Monday, August 12, 2013
Save the Date
I created a wedding dress - as the focal point for this Save the Date card. You could use this same idea for princess dresses, proms - all kinds of ways! I added Xyron Magnet tape to the back so this could go on a refrigerator.
WorldWin Paper
Labels:
dies,
May Arts Ribbon,
Want2Scrap,
Worldwin Papers,
Xyron
Monday, August 5, 2013
Elegant Summer Card
Can you believe August is already here? How is the summer going by so quickly? My card today is an elegant summer card, that would work well for any special occasion.
The flowers and leaves were all cut with white cardstock, and colored with pigment inkpads. You can see how this technique really shows off the beautiful embossing of the leaves.
WorldWin Paper
CTMH Ink
Xyron Mega Runner
Monday, July 29, 2013
Thorn of a Rose Card
WorldWin Paper Cardstock Elan Metallics: Antique Gold,Sunset; CutMates: Olive Oil
Graphic 45 Patterned Paper - Steampunk Spells
Lindy's Stamp Gang - Moon Shadow Mists - Bucket o Blood Red; Burnished Brass
May Arts Ribbon- Faux Burlap 445-15-32
Labels:
dies,
Graphic 45,
Lindy's Stamp Gang,
May Arts Ribbon,
steampunk,
Worldwin Papers,
Xyron
Lindy's Stamp Gang July Color Challenge
Are
you ready for some mixed media inspiration? I hope so, because I've got
a canvas to share as well as a video tutorial on my background
technique. To be quite honest, I decided to make the video after my
canvas was completely finished - and of course no two projects ever turn
out the same, but at least you can learn the techniques that I used.
I saw that Lindy's Stamp Gang was having a Color Challenge
- and I was so excited, because I've loved their products for several
years now - from the first time I tried them. So here was this month's
palate - not my normal colors, but really fun!
Then, before I even had a chance to play along, they really sweetened the pot, by announcing they were having a design team call! Now my mind started churning with ideas of sparkly, spritzy things, and I decided to make a canvas.
I
hope you enjoy my video and find some helpful tips. For the finished
project, I added some Dusty Attic Chipboard - that I spritzed and
embossed, and handmade paper flowers created with Cheery Lynn Designs
Sweet Williams Flower Strip die. After the flowers were shaped and
assembled, I dipped them in melted embossing powder.
Lindy's Stamp Gang Products:
Buccaneer Bay Blue Moon Shadow Mist
Blue Hawaiin Blue Starburst Sprays
Bluebeard Blue Violet Moon Shadow Mist
Burnished Brass Moon Shadow Mist
Hydrangea Blue Mauve Embossing Powder
Desert Moon Turquoise Embossing Powder
Twilight Jade Slate Embossing Powder
And here is the second canvas that I created for the video. I haven't finished it off yet, but will be sharing it as soon as I do.
Blue Hawaiin Blue Starburst Sprays
Bluebeard Blue Violet Moon Shadow Mist
Burnished Brass Moon Shadow Mist
Hydrangea Blue Mauve Embossing Powder
Desert Moon Turquoise Embossing Powder
Twilight Jade Slate Embossing Powder
And here is the second canvas that I created for the video. I haven't finished it off yet, but will be sharing it as soon as I do.
Thanks for stopping by, and wish me luck!
Labels:
dies,
dusty attic,
Lindy's Stamp Gang,
tutorial,
video,
Xyron
Monday, July 22, 2013
Good Things Are Going To Happen
I've got a shaped card to share with you today.
WorldWin Papers: ColorMates, DoubleMates
Lindy's Stamp Gang: A Bit of Bubbly Starburst Spray, Geranium Coral Blush Embossing Powder
Verve Stamps: Brighter Days
Xyron: Mega Runner, Creatopia
Want2Scrap: Pearls
Monday, July 15, 2013
Cheery Lynn Designs New Release Continues!
I've got another card to share with you today. Although these flowers are supposed to be Black Eyed Susans, I took a little creative license and ink and came up with these.
Friday, July 12, 2013
Wednesday, July 10, 2013
Guest at Paper Crafter's Library
Hi, I just wanted all of my readers to head over to the Paper Crafter's Library blog today - I've got a tutorial that I am sharing there for May Arts Ribbon. I will teach you how to make this vintage tag using MA lace and Xyron. I hope you will enjoy it!
Monday, July 8, 2013
May Sunshine and Laughter Brighten Your Days
This week the DT's from Scor-Pal and Clearsnap have joined forces to bring you some amazing projects. Be sure to check the Scor-Pal Blog and the Clearsnap Blog everyday for inspiration, and maybe a prize or two!
It seems like the rain is never going to stop here, so I loved the sentiment that I used for this Upright Z-fold card. This project uses a couple of different techniques, so I'm going to break them down for you, so you can make your own.
For the background paper, I took a patterned paper, and ran it through my machine with an embossing plate.
I used a brayer to apply Top Boss watermark ink over the top , and sprinkled it with Clear Embossing Powder and heat set the powder.
I repeated the brayering and embossing two more times to build up a thick layer of embossing powder.
I inked over the surface with the Mix'd Media Inx in Truffle, and then used a paper towel to remove the ink off of the embossed areas.
I set this to the side, and started the card base by cutting a strip of cardstock 4 1/4" x 11. I placed the paper with the long side along the top fence of my Scor-Pal, and scored at 5 1/2" and then flipped the paper, and scored at 2 3/4". Fold the base so that you have a small "tent" to the front of the card.
I adhered the embossed paper to the back panel of the card with Scor-tape. I took a strip of gold paper 4 1/4" x 2 3/4" and used the City Girl Edger to cut decorative borders on each side. A added a scrap of the embossed paper to the center of this panel and adhered to the bottom of the card.
For my image panel, I cut brown cardstock 3 1/4" x 4 1/4" and covered it with the French Lattice Small. I used the Coved Rectangle and Coved Rectangle Stitching Tool for my sentiment. The stitching tool allows me to make perfect stitches around my border. I adhered the bottom of this whole panel to the base of the card.
The original directions for making this type of card relied on a tab on the back panel to tuck the front panel behind, to make it stand up, but I created a different method. I glued a lace Corner to the back of my brown panel, and sat my card on the table, and used a Crop-a-dile to punch holes to line up with the opening in my fancy corner die. I then ran ribbon through the holes in the card and laced it through the die cut and tied my bow. This keeps the card standing upright, and can be untied to flatten the card for mailing.
For the flowers, I used the Shasta Daisy Strip. I inked the edges with Mix'd Media Chox in Butternut.
Then, I cut a small circle into a scrap of paper to make a template, and placed it over each flower, lining up with the center.
I spritzed into the opening with the Stephanie Barnard Tangerine Spray. This kept the splatters just to the center of my flower.
I assembled the flowers and added some greenery to finish the card.
Clearsnap:
WorldWin Paper Cardstock: Autumn Hay, Gold Ore, Deep Coffee Brown, Medium Spring Green, Deep Spring Green
Verve Stamp Set - Brighter Days
Labels:
Clearsnap,
dies,
May Arts Ribbon,
Scor-pal,
Scor-tape,
tutorial,
Verve,
Worldwin Papers
Monday, July 1, 2013
A Rose is Not Always a Rose......
I used a patterned paper that had branches with flowers and leaves already printed on it, but I thought it would look great to add some dimension over the top. I didn't try to line the elements up exactly to what was printed, but rather arranged them to compliment each other. This really creates a big wow factor, in no time at all.
Wednesday, June 26, 2013
May Arts, and Xyron and LYB- Oh, My!
I am so lucky to work with such fabulous companies, and this week two of the teams that I'm on - May Arts Ribbon and Xyron have teamed up with Little Yellow Bicycle. How fun is that? So today, I have on my May Arts DT hat, and have a layout to share. Friday, I will be back with my Xyron hat on to share another project with you. You know the Ribbon Lady is going to be giving away some ribbon this week - 3 spools to the lucky commenter. So leave as many comments on the Ribbonistas blogs as you want - each comment gets you an entry to win. And Friday, there will be a big giveaway package with May Arts, Xyron and LYB!
I love this picture of my nephew when he was a baby - couldn't you just eat him up! I used a border sticker from the LYB Poppy line for my ribbon treatment on the bottom right corner. I gathered the polka dot ribbon and adhered it to the sticker. I used the new Xyron High Tack Tape to adhere the Chevron Stripe ribbon above it. I had not noticed the checked ribbon I used beside my picture, until a sample came - and let me tell you -this is one of my new favorite ribbons. I'll be adding some of those to my ribbon stash!
Another one of my favorite Xyron tricks is making my own dimensional adhesives. I go through this stuff, so having an economical way to make my own has saved me so much money. If you haven't tried this, all you have to do is buy a sheet of craft foam at your local craft store, and run it through your Creatopia or Creative Station Machine, and put permanent adhesive on both sides. I used my DIY foam adhesives to layer the die cut flowers.
So here are all of the details that you need to know:
May Arts Ribbons:
Xyron
Little Yellow Bicycle
Other:
Words or Whatever Chipboard, Mask
Clearsnap Ink
And so you don't miss a thing, here is the schedule for when the Ribbonistas will be posting this week. Be sure to check the Xyron and LYB blogs for more inspiration from their designers.
Monday
Tuesday
Wednesday
Thursday
Friday
Follow my blog with Bloglovin
Subscribe to:
Posts (Atom)


