Monday, September 24, 2012

Rock On!


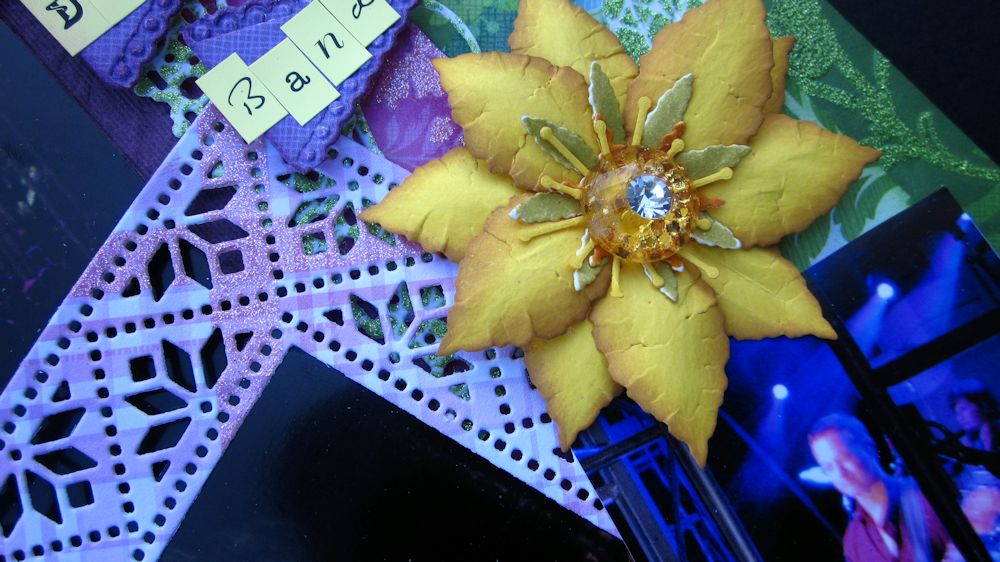
I had the opportunity a couple of weeks ago to attend a concert by Gary Sinese and the Lt. Dan Band.  It really made for a great evening and all of the proceeds go to buy medical equipment for wounded Veterens.  It was really a touching evening, and just had to share it in a layout.

I see tons of sketches now with a fish-tailed banner, and instead of just having straight lines, I used the negative side from one of the Lace Corner sets.  It added a little extra design element.  Look at the purple mat behind the main photo, and you can see I used the Foliage Embossing Plate to create a subtle design.
 
I love how many tons of flowers you can make by combining all of the Cheery Lynn Designs Build a Flowers (and there are more on the way!)
 
 
Can you believe the carnation and the pansy were both made from the Build a Flower 2 Set? Such great versatility! The Daisy was made with the Stacker Flower 2. I used the Embellishment 2 for the Pansy centers.

 
The Clematis was made with the Build a Flower 1. So many flowers and these won't wilt!
 
Thanks for stopping by today!  If you are ready to get out your Cheery Lynn Designs dies, why don't you play along in our week's challenge of Keeping in Krafty (use Kraft paper). We would love to see what you create!
 
 
Patterned Papers: DCWV - Bouquet De Fleur
American Crafts Thickers
Webster's Pages Sparklers
Flower Soft
 
Challenges:
DCWV: September Stackaholic Template Challenge
Simon Says: Emboss It
 

Sunday, September 23, 2012

Faith Makes All Things Possible


I've been itching to get my hands on some of the new Farmhouse Papers - and this week I did! I love these papers - awesome designs and fantastic quality.  These papers and chipboard are from the Fair Skies - Dawn Collection.  I used the JustRite Stampers Faith Set for my Sentiment and frame, and added May Arts Grosgrain Ivory Stripes Ribbon and Crochet Trim with some Kaisercraft Flowers.

Challenges:
JustRite: Be Supportive
Mojo Monday: Sketch

Friday, September 21, 2012

Here's a Little Sneak....


Here's a sneak peek of a layout that is featured today on the May Arts Blog.  Be sure to head over there to see all of the details!

Monday, September 17, 2012

Family Layout


I really love adding borders to my layouts- they add so much detail in such an easy way.  I tend to use only one picture on my layouts, but this one needed to include more, to show the whole "feeling" of my family having a meal together.  I wanted to keep this on the simple side, so as not to detract from the kind of busy pictures.  For me, adding some intricately cut Cheery Lynn Designs borders were the perfect touch for my project.  

The new challenge this week at Cheery Lynn Designs is Frame It. We would love to have you play along for your chance to win a $20 gift certificate.

Cheery Lynn Designs Dies:


Luxury/P844

Classic/ P841

Romantic/P843

Rich/P842

Posh/P846

Magnolia Grove / Clear Stamps CS822

Magnolia Grove/ Collectables CT715

Magnolia Grove Embellishment Pack Ribbon/ EM978

Blossoms/Pansy/EM967

Other Products

WorldWin Cardstock – Red

Clearsnap Ink

                                                Glue Arts U Cut It 3D Adhesive Foam Blanks

Saturday, September 15, 2012

A Wedding Wish


I've got a card to share with you today, that is all about texture.  The main image was embossed using an M-Bossabities Paisley Folder from Spellbinders.  I lightly inked the raised areas with Distress ink, and added Want2Scrap Pearls to the flower centers.  The sentiment is from Heartfelt Creations Bella Rosebud HCPC 3400, and is stamped on Fancy Tags Two.  The card is mounted on a patterned paper from DCWV on a Core'Dinations Cardstock base.

Thanks for stopping by!

Monday, September 10, 2012

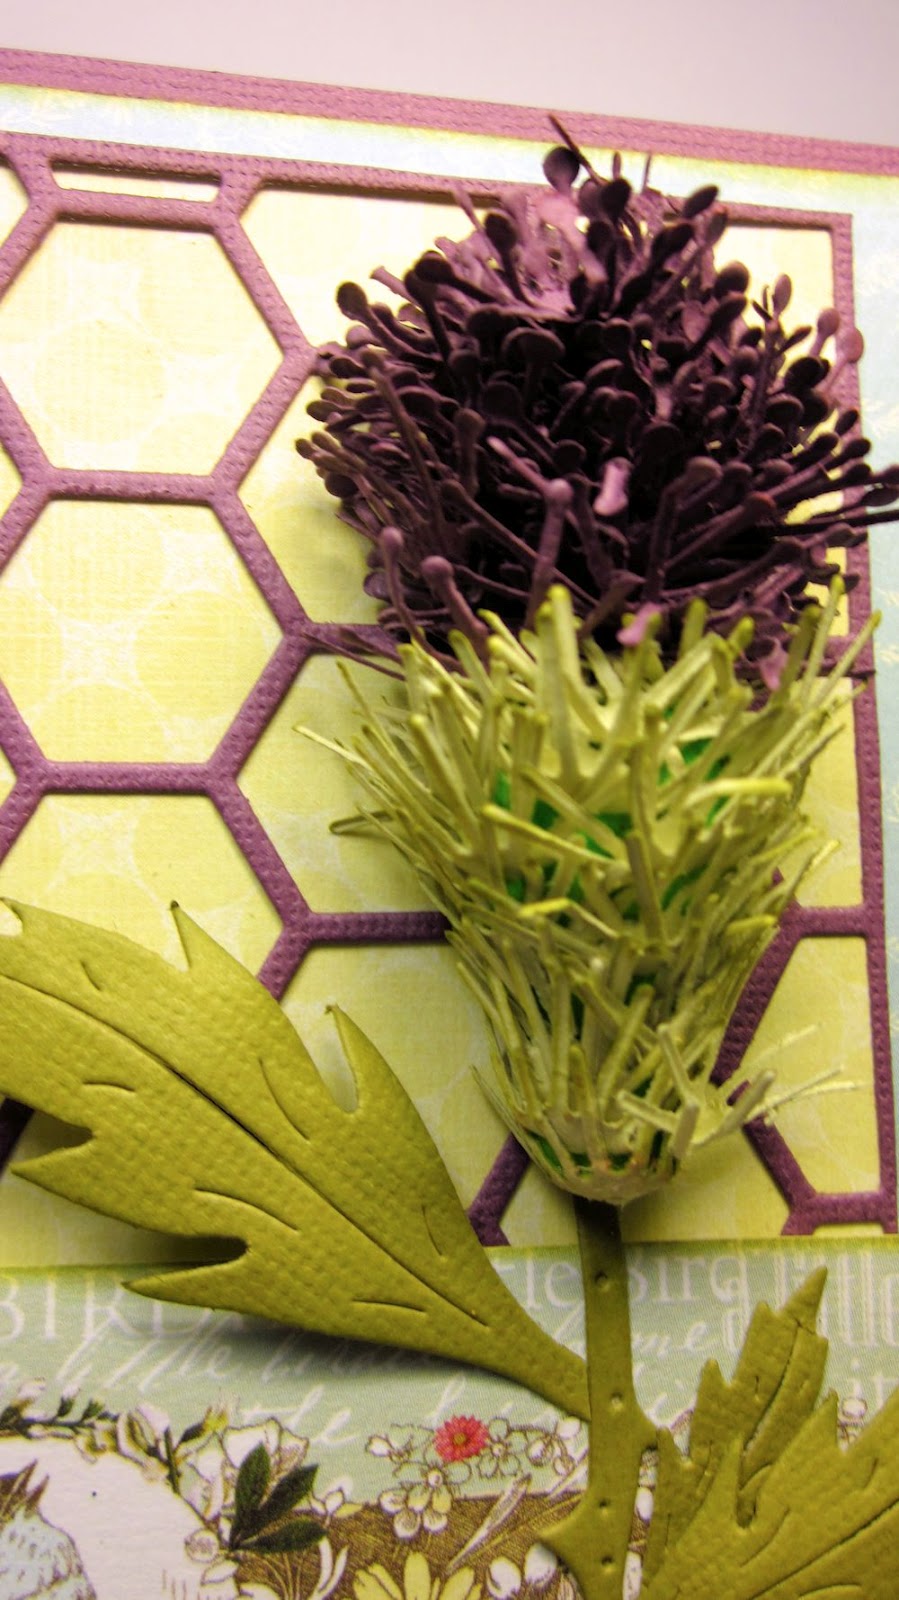
Thistle Flower Tutorial with Cheery Lynn Designs

I love trying to re-create flowers using paper - and today, I challenged myself to make a thistle.  I've always thought this was such an elegant flower, and I hope you like what I came up with.

 
I needed something for the base of my flowers, so I used some Creative Paperclay to form my basic shape.
 
 
After these were dry, I cut them in half, so that they would be flat on the backside, and then colored them with markers to blend into my flower colors.
 
 
(I would probably choose a little softer colors for my marker next time - but this did o.k.)
Now for the fun!  I cut about 30 of the asterisk shapes( from Build a Flower One, using green cardstock.  Cup this by rolling a large flower shaping tool or stylus in the center in a circular motion.  Pinch the two side together and curve the flat side into an arch shape.  Add a small amount of glue to the flat edge, and start attaching these, row by row, starting at the top, and working down. The rows will be closer togther at the top, and get further apart as you work down.
 
 
Cover the entire base, and allow to dry.  If you have bare spots, go back and add another cut.
 
 
The flower is complete in the same manner, except you will use the #7 pieces from Embellishment #2 set.  The stem is also from this set, and the leaves are from the Build a Flower #2.
 
Here's a detail of the final flower.
 
The flower is sitting on a frame cut using the Honeycomb frame. And finally just a little snippet of Lace Light Deco Border - which reminds me...The new challenge this week in Borders and Edgers! So add some borders to your project and play along, for your chance to win a $20 gift certificate to CLD!


Saturday, September 8, 2012

Wow Embossing Powder - Hummingbird Card

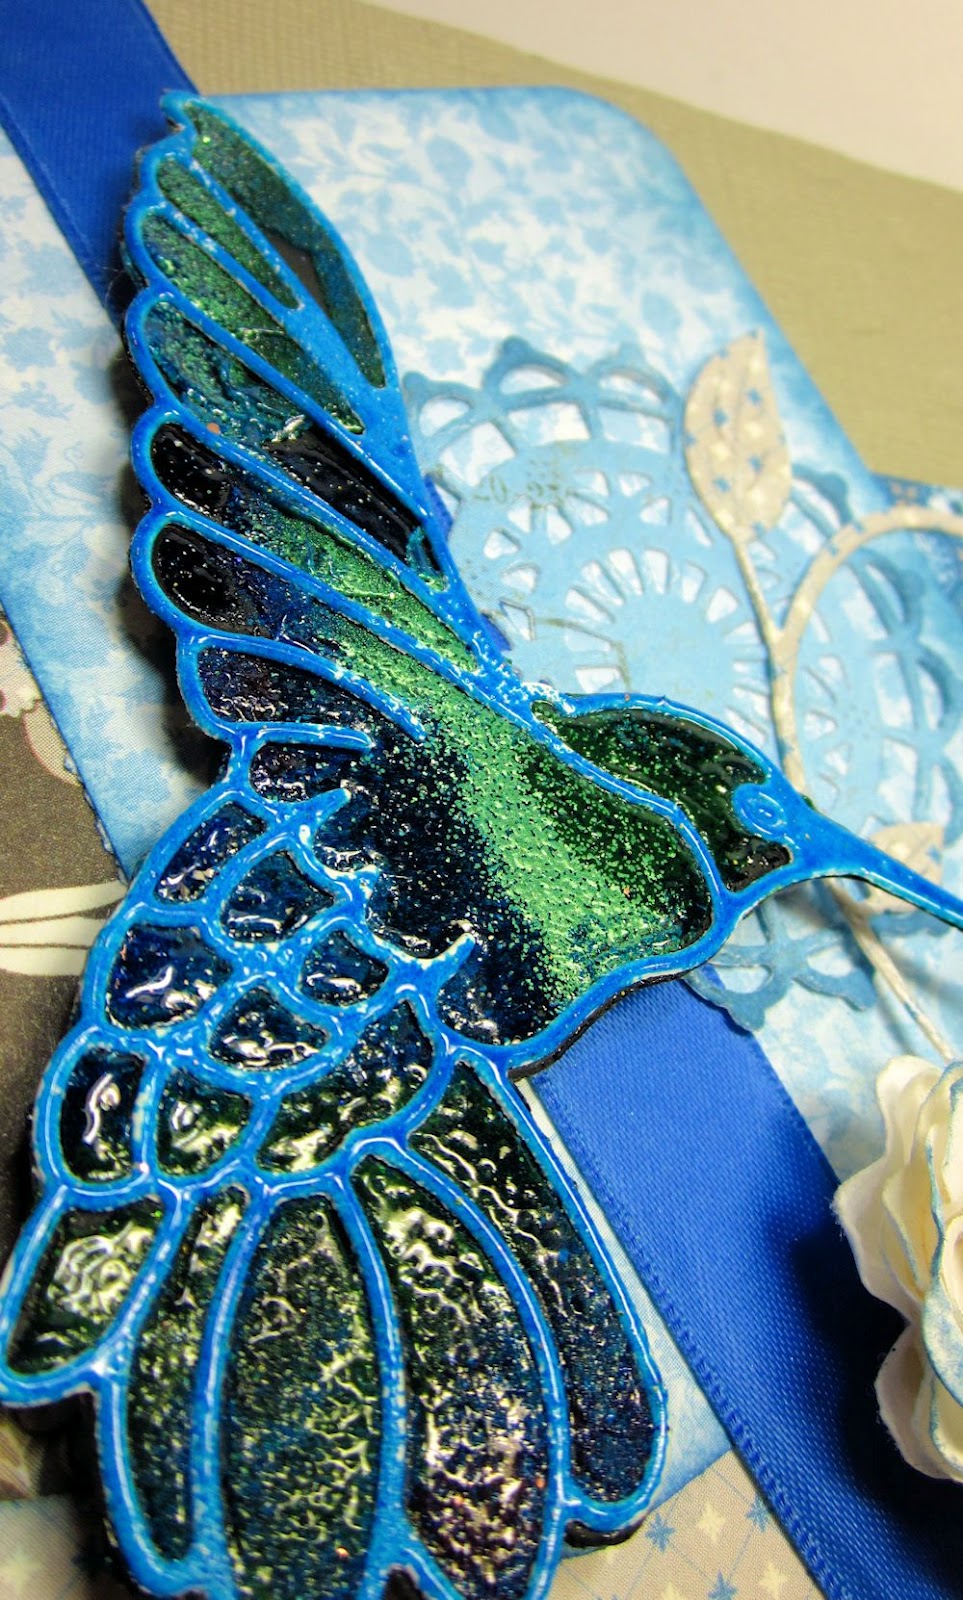
Today is the Powder Puff Girls Team Blog post over at the Wow Embossing Powder Blog. Be sure to stop over to see all of the amazing projects created by my team members!  For my project, I made a card using the Cheery Lynn Lace Humingbird die backed with Scor-tape sheets.  The embossing powders were used to color in the sections of the bird to create a stained glass effect.


Supplies:
 
 
May Arts Ribbon - SATIN/REVERSIBLE RP44
Authentique Patterned Paper - Journey
Core'Dinations Cardstock
Clearsnap Ink


Challenges:
Mojo Monday - sketch

Friday, September 7, 2012

You're So Thoughtful

I have a lovely fall card to share with you today that highlights some of the wonderful Heartfelt Creations stamps that are available at Scrap-Mart (although after the big stamp sale that we had - some of these may be currently out of stock!).  I used a combination of flower stamps to create the dimensional flowers - Carnation Florals 2 PreCut Set (HCPC3438); Botanical Floral 1 PreCut Set (HCPC 3406) and Botanical Floral 2 PreCut Set (HCPC3407).  These coordinate with the Spellbinders Rose Creations and Carnation Creations.  I also used the Venetian Motifs to cut the fancy circle for my sentiment (which is from the Inspire Me Sentiments PreCut Set HCPC3363).  The papers and chipboard are from Bo Bunny Forever Fall collection.  The layered ribbons are from May Arts - Grosgrain/Ivory Stripes RG-25, Crochet 361-58-10 with Twisted Burlap 363-33   run through it.


Challenges:
Bo Bunny: Sketch

Fall Gift Bag

 
I recieved this cute burlap bag earlier in the week, and knew that it would be so fun to alter it as the perfect little gift bag for fall.  I cut metal leaves using Cheery Lynn Designs Dimensional Large Leaves. I love the deep embossed patterns.  I pulled out some of my favorite fall colors from Wow Embossing Powders and inked the leaves with Versamark.  When you heat emboss the metal, it heats up fast - so make sure to hold it with tweezers or lay them on a heat resistant mat. The metal tends to shine through the embossing powder and makes a gorgeous charm for your bag.


Wow Colors used:
Suzy West Earthtone Honey
Suzy West Cable Car Red
Suzy West California Sunshine
Suzy West Earthtoe Nutmeg
Suzy West Earthtone Paprika
Suzy West Earthtone Olive
 
Thanks for stopping by!
 

Monday, September 3, 2012

Bring on the Glitter!

 
Happy Labor Day, to my USA friends!  I hope you have gotten to enjoy a nice, long holiday weekend - and perhaps had a little time for crafting.  This weekend also marks the end of summer, and the welcome to fall...so I thought it would be appropriate to share a pumpkin card with you.
 
As you might suspect, I am now completely covered in glitter (as well as my studio floor!). But, I'm going to tell you how I created this sparkly goodness.
 
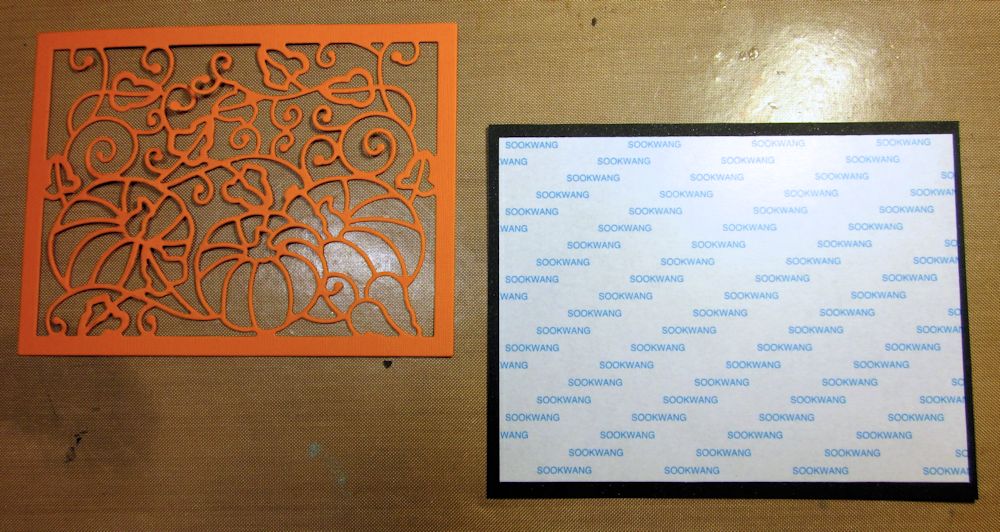
I used the Fall Harvest One die from Cheery Lynn Designs, as the focal point of this card.  I cut it from orange cardstock.  Now, for the magical part....I cut a piece of black cardstock, large enough for a border and I cut a piece of Scor-Pal tape(sheet size), the same size as my pumpkins.
 
 
I removed one side of the backing from the Scor-tape and centered it on the black paper.  Then remove the top layer and apply the pumpkins. I started coloring the pumpkins by sprinkling ultra-fine glitter in those areas.I would burnish the glitter to the Scor-Tape with my finger, and then flip the card straight over to remove the excess glitter.  Next. I colored the leaves in the same manner, and finally the background.  If you find that you have the wrong color in an area, you can put a thin area of Art Glitter Dries Clear adhesive (using the fine metal tip), and reapply the correct glitter color.

 
I finished the card with a border from the Celtic Whimsey.
 
We really appreciated all of the fabulous entries we had last week, and hope that you will join us again  at Cheery Lynn Designs Challenge. This week we want you to stitch it up (real or faux). Looking forward to seeing what you come up with!