Showing posts with label layout. Show all posts

Wednesday, February 15, 2017

My Heart Is Full


Hello, hello Creative Peeps! You may have noticed I've been a bit MIA on my blog, but as you can see in my layout, I've been busy with my precious little bundle! So, I'm back and happy to share this layout with you! 
 

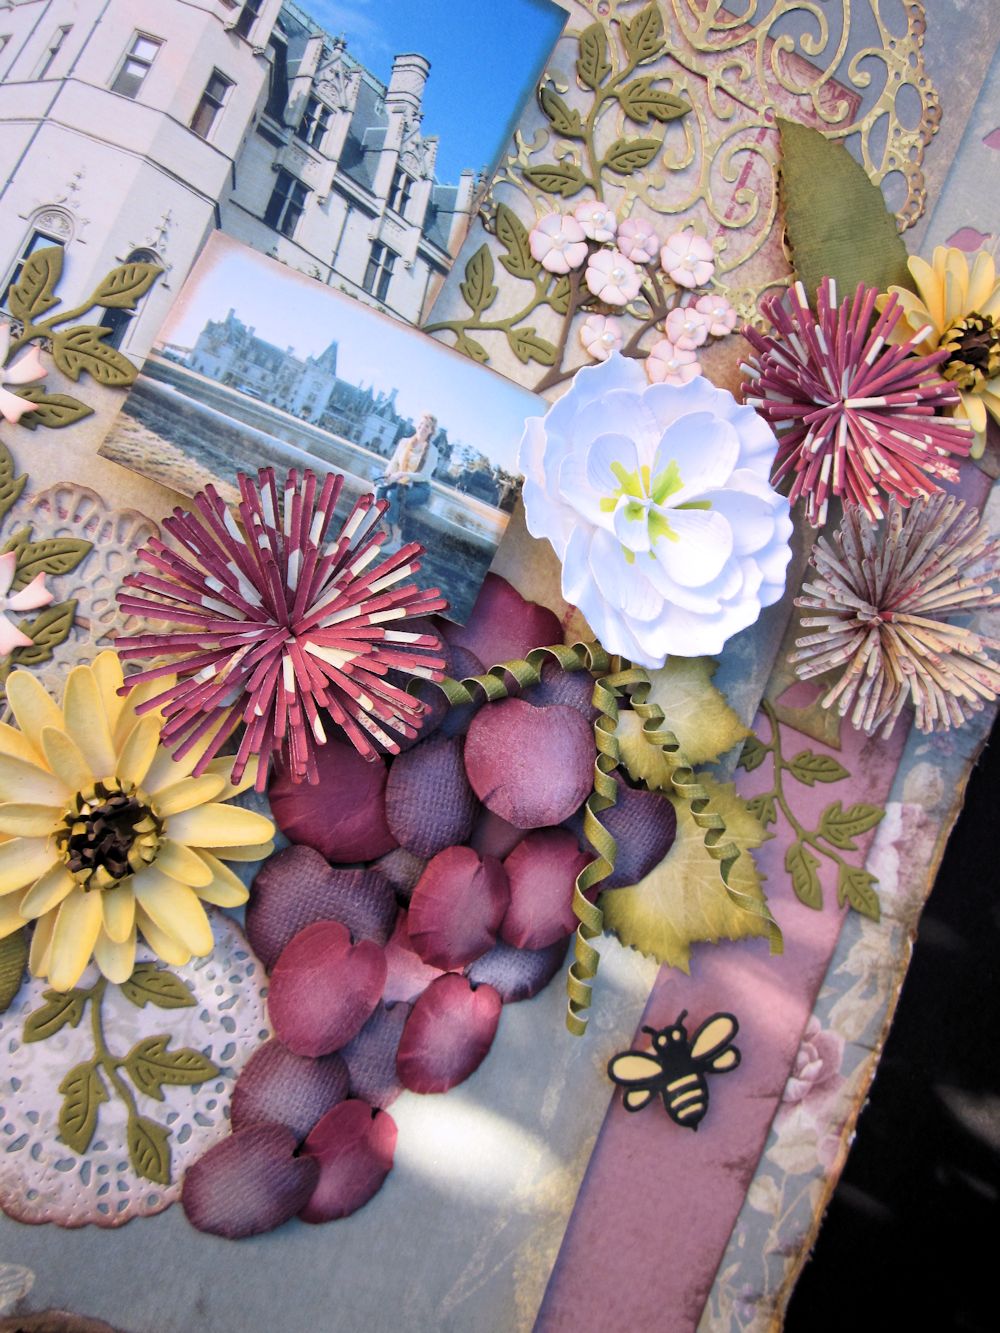
Since I hadn't made any flowers in awhile, I figured I need a bunch of them (plus, I'm really ready for spring).


Directions:
1. Cut patterned paper 11 x 11.  Distress and ink the edges. Adhere to 12 x 12 patterned paper, whose edges have been inked and distressed.
2.  Layer a piece of corrugate behind where the photo will go.  Spray with mist to color before it is glued down.
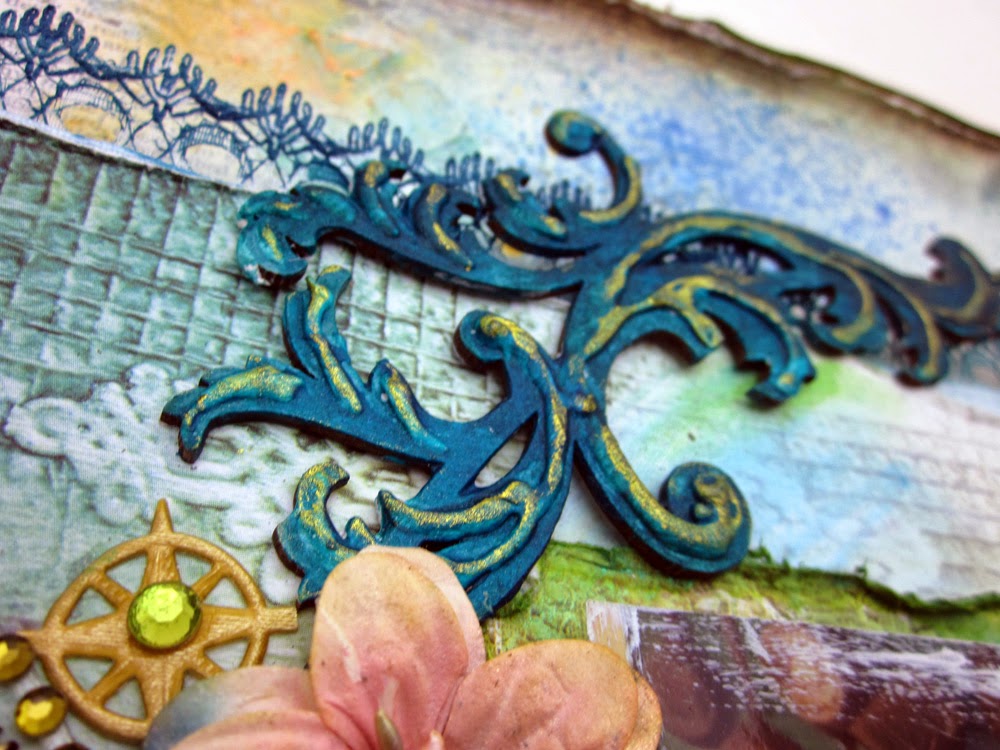
3.  Use texture paste and argyle stencil over Dusty Attic Chip. While the paste is still wet, sprinkle with embossing powder.  Allow to dry, then heat emboss. Spray with color mist while the embossing powder is still hot. Mist the chipboard title.
4.  Arrange chipboard, paper panels, photo  and ribbons on the layout as shown.
5.  Stamp Heartfelt Creations Wildwood Florals on white cardstock. Cut with the matching die. Use a sponge dauber to apply color to the images. Shape with the Deluxe Flower Shaping Tool.  Glue prills to the centers of the flowers and arrange on layout.

Thanks for coming back to my blog!

I played along with the Dusty Attic sketch/inspiration this month. You can check it out here, if you would like to play along.

Tuesday, February 16, 2016

Dream Big

 This past weekend, I had the wonderful privilege to help out at the Heartfelt Creations Booth, in Columbia, SC.  It was great to meet so many people who love HC as much as I do, but also working at these shows always refresh my creative spark as well.

Even though I was worn out, I couldn't wait to get back to the hotel room to start working on this layout.  My nephew just turned 10, and my wish for him is that he will dream big, and become the man he has the potential to be. He has a wonderful life ahead of him.


Thanks for stopping by!

Challenges:
Dusty Attic - February Mood Board


More Than Words: Wonderful and Sparkle
* Wonderful is just the wish I have for my nephew's life, and because he already is rather wonderful; The sparkle is all over the layout - the flowers are painted with Twinkling H2O's and  glittered, the embossing paste was also dusted with glitter, and my nephew's eyes always sparkle.

Friday, September 12, 2014

March to the Beat of Your Own Drum

Hello, lovely blog followers! Today I have a mixed media layout to share with you that brings back so many wonderful memories for me.  The photo is from our Disney trip last year (which was a complete surprise to my nephew). It was really the best trip ever.  Also, growing up, my great -grandparents had peacocks...so peacock feathers decorated everything!  Now, that may have been a bit of an overkill, but now, peacock feathers always make me smile.  These feathers started off as plain chipboard, and I added lots of inks and mists to create their coloring.


Thanks for stopping by!

Supplies
 7 Dots Studio: Patterned Paper - 9th Wave (Sea Foam, Wavy Ocean)
Dusty Attic Chipboard ( Mini ABC Tile Set; Rustic Charm Frame Set; Vine Corner #2; Baroque Frame Set- Circle; Peacock Feather, Nameplate #2)
Dusty Attic Flowers ( Bridal Veil)
DCWV - Corrugate Neutrals
Wow Embossing Powder
Zva Creative: Gems - CRW-04CB-132; Flourish - CR-05CA-108
Tsukineko: Delicata (Golden Glitz); irRESISTible ( Bahama Blue, Gold)
Lindy's Stamp Gang: Opal Sea Oats, Sea Mint Green, Cocklebells Coral; Azure Sea Asters: Tibetian Teal Poppy
Prima: Mask
Core'Dinations Cardstock
Golden: Modeling Paste


Challenges:
7 Dots Studio - The Five Senses (I chose the sense of hearing)


Wednesday, October 2, 2013

Warmest Wishes - Heartfelt Creations Layout


I've got a layout to share with you today that wraps up Heartfelt Creations' Season of Joy release.  I've had so much fun creating projects using this collection, but I have to say this one is my favorite! I added loads of details, which I will share with you today.

Also please remember:
 
It's that time of the year to vote for your favorite designers from Heartfelt Creations to see who will stay on the team!  I really hope that I have inspired you, and that you will take a minute to cast your votes.  Here are all of the details:

Vote for your favorite Designers: When we announce a new design team call that also means that we have a tough time deciding which of the current designers continue on the HC design team. We are giving you the opportunity to get involved and vote for 5 or more of your current favorite design team members. You can CLICK HERE and submit your vote. When you vote, you will also be entered into a drawing to be eligible to win a $50 HC Gift Certificate. You can only vote one time and you have to select 5 or more to be eligible to participate. Voting ends on October18th, 2013.

Also, HC always adds new designers to the mix - and my very talented sister, Lori Williams is in the running - so if you would vote for your favorite new designers as well (there are two separate polls and each one has a prize to be won!)

 Vote for your favorite Semifinalists: We would love to have you participate and vote your 5 favorite semi-finalists. Review each one of their blogs and then CLICK HERE to submit your vote. When you vote, you will also be entered into a drawing to be eligible to win a $50 HC Gift Certificate. You can only vote one time and you have to select 5 or more to be eligible to participate. Voting ends on October 18th, 2013

Chipboard circle, painted with 3D Metallic Stamp paint, then stamped with holly branches. Also check out the die-cut doily that was created using the Decorative corner dies.


Poinsettias were colored gold with mists and shaped while wet.


Pine cones add texture to the flower clusters. They were stamped, fussy cut and glittered.

The sentiment stamp serves as a title for the layout. 


Heartfelt Creations Products
Other:
Spellbinders Cherry Blossoms
May Arts Ribbon
Clearsnap Ink
Various Mists in yellow, gold
Xyron Mega Runner, Creatopia 
Chipboard

12 x 12 Layout:
Ink all of the edges of the patterned papers with brown ink, and distress the edges.  Layer the papers as shown, using foam adhesives. Cut a large open circle from chipboard.  Paint with 3D Stamp paint.  Ink the edges.  Stamp the Holly Swirls randomly on the circle. Layer the other panels as shown.  Cut the doily using the Decorative Blossom Corner die (after each cut, line up the edges, until you have made four cuts and have completed the doily). Place the photo over the doily. Tuck a small portion of the Banner and Trees die (the lace tree) under the left edge of the photo. Stamp the sentiment and cut using a circle die. Stamp and cut the flowers using the Christmas Poinsettia stamp and the Sun Kissed Fleur die.  Spritz with mists and shape while wet.  Assemble the flowers. Add a little glitter and a dew drop to the center of each. Stamp the pinecones and hand cut.  Trace the design using the metal tip on the dries clear adhesive and add ultrafine glitter.  Arrange the floral spray along the bottom of the chipboard circle.  Add branches from the Cherry Blossoms die set, and place the pinecones at each end.
 

Wednesday, May 1, 2013

Heartfelt Creations Inspiration


I was so thrilled when I saw the Balmy Breeze collection from Heartfelt Creations, because I completely adore anything to do with the beach.  From the imagery in this set, to the sun-faded colors of the papers - I was completely in love!  I used one of my favorite pictures of my nephew at the beach, for this layout.


Heartfelt Creations Products:
Balmy Breeze Paper Collection HCDP1 232
Seascape PreCut Set HCPC 3531
High Seas PreCut Set HCPC 3527
Sand and Sea PreCut Set HCPC 3528
Surfs Up PreCut Set HCPC 3529
Antique Lantern PreCut Set HCPC 3512
Tattered Blossoms PreCut Set HCPC 3468
Tattered Blossoms Die HCD 722
Gala Glitz- Blue
Dries Clear Adhesive

Other:
Clearsnap Ink: ColorBox - Harbor Pigment Ink, Blackbird Chalk Ink; Chox - Sparrow
May Arts 5/8" Eyelet Ribbon
Words or Whatever chipboard
Wow Embossing Powder - gold
Faber Castell Gelatos
Xyron Mega Runner, Creatopia

Directions:  Distress the edges of the base paper.  Stamp the birds in the upper right corner using a white pigment ink. Cut the patterned papers to form the basic sketch shown.  Ink edges of papers and layer with foam adhesives. Stamp and fussy cut images from the Balmy Breeze sets ( anchor, palm tree, lighthouse, compass).  Layer these around the photos.  Stamp the sentiment from the Antique Lantern set in the center of the printed label. Fussy cut and adhere to the lower right corner of the photo. Stamp and cut with the corresponding die Tattered Blossoms flower.  Layer the flowers and add Gala Glitz to the centers.  Nestle around  the layered elements to finish the layout.

Saturday, February 9, 2013

New Chipboard Release at Words or Whatever - Wow

Each month, Words or Whatever has a wonderful new product release.  This month, they are celebrating Back to School ( since it's an Australian company, their kiddos are heading off to school now).

So here are a couple of layouts that I created using a few of the new goodies.


I colored my chipboard with Clearsnap ink, and also added hightlights with Smooch.  My journaling was printed onto vellum and cut into strips and run through my Xyron 1.5" Sticker Maker - it works beautifully with the vellum, as it shows none of the adhesive through the paper.  I added a little text to the book in the lower right corner, by cutting apart Tim Holtz Tissue tape.


I found an image of an old school library card, and printed it out on cardstock and made a cute little library pocket for it.

The Little Kids border is not a new release, but it was perfect for this theme.

School Days:
AltaMATZ Chicken Wire Piece (Alta055) 
Graphic 45 Patterned Papers - An ABC Primer
WorldWin Papers Vellum
Xyron Mega Runner
Xyron 1.5" Sticker Maker 
Clearsnap Ink


I added some puff paint to my abacus beads to make them look rounded and then painted them with Smooch.


I cut apart one of the "2013" titles, and used it for my math equation, with the help of some simple embroidery.

"No Matter How You Count It"
Pink Paislee Patterned Paper - Old School
Epiphany Crafts Tools and Epoxies 

Be sure to check out the Words or Whatever Blog, for my inspiration from the rest of the team, and to see more of the new products!


Saturday, January 19, 2013

Words or Whatever Chipboard Debut!


I've been stalking my mailman for days, and finally my much anticipated box of chipboard from Wow -Words or Whatever  arrived.  I immediately sat down and started playing with all of the goodies.  If you are not familar with this line, you need to check it out! They have a wonderful selection of chippies - and an incredible line of heavy duty templates - AltaMATZ.  If you are looking for a source in the US - I noticed that Lindy's Stamp Gang has a nice selction!


This is a picture of me and my sister (about 40 years ago - yikes!) For the base, I misted the corners using the AltaMATZ 6 x6 Doily Corner .  The title was painted with gesso, and then spritzed and glazed with Glimmermist and Glimmer Glaze. My flourish was inked with Clearsnap Chalk ink, and then I stamped the background with a script stamp Hampton Arts/Graphic 45 Ladies Diary 1.


The flowers were stamped with the Hampton Art/ Doodlebug Sweet Background.

Be sure and check out the Wow - Words or Whatever Blog - for tons of lovely inspiration.  Our challenges will be starting back next month, so you might want to stock up now, so you will be ready to play along.

Supplies

Words or Whatever:
 Me and My Sister title; Flourish; , leaves, AltaMatz Doily Corner
Hampton Art:
Doodlebug Sweet Background; Graphic 45 Ladies Diary 1
Clearsnap Ink
 Mix'd Media Inkz - Leather;Color Box Fluid Chalk- Chestnut Roan; Olive Pastel
May Arts Ribbon
1.5" Crochet
Heartfelt Creations
 Clear cardstock
Other
Bo Bunny Patterned Papers - Little Miss
Want2Scrap Pearls
Tattered Angels: Glimmermist; Glimmer Glaze

Monday, January 14, 2013

Friday, November 23, 2012

Heartfelt Creations Black Friday Release!

We are pleased to introduce the Heartfelt Creations Timeless Amour Collection. Grab your cup of cocoa and snuggle up. This set is as warm and romantic as the days when the snow flies and the fireplaces pops. Typography of love, roses of delight, and patterns of mesmerizing drama are all included in the Timeless Amour Collection. There are 5 new PreCut Stamp Sets, one 12x12 Paper Collection, and one beautiful new exclusive Spellbinders die designed for Heartfelt Creations. Leave a comment on the HC blog by November 27th and you will be eligible to win the entire release valued at $134.93 .

Since we celebrated Thanksgiving Yesterday, I knew that I wanted to create a layout that expresses my gratitude towards my parents. They have always been there for me and have shown me unconditional love and have certainly made my life so much better!


Life Is Better With You In It - 12 x 12 Layout


HCPC 3506 - Passage to My Heart PreCut Set
HCPC 3508 - Timeless Lace PreCut Set
HCPC 3505 - Timeless Rosette PreCut Set
HCPC 3509  - Timeless Sentiments PreCut Set
HCPC 3500 - Open Vintage Floret PreCut Set
HCPC 3502 - Mini Vintage Floret PreCut Set
HCD 728 Timeless Amour Die
HCD  727 Vintage Floret Die
HCD 726 Delicate Asters Die
Spellbinders Romantic Rectangles
Spellbinders Fancy Framed Tags 2
HCDP1 228 Timeless Amour Paper collection
Art Institute Dries Clear Adhesive
Metal Glue Tip Art Institute
Zip Dry Adhesive
Paper Blossoms Molding Mat
Paper Blossoms Tool Kit


Other: Art Institue Glitter (Iris); Copic Markers ( RV11, RV13, RV14, RV17, RV19, YG63, YG91, YG93, YG99); ColorBox Pigment Ink ( Shabby Pink, Pink, Eggplant), Lindy's Stamp Gang Embossing Powder (Amethyst), WorldWin Cardstock, Memento Ink (Black)

Stamp various sizes of  the Vintage Floret stamps onto a light patterned paper from the Timeless Amour Paper Collection. Add pink and eggplant ink to color the flower.  Cut with the matching die, and shape using the Paper Blossoms kit. Add the stamen shape from the Delicate Asters set beneath each bud.  Determine the placement of your photo, and stamp and heat emboss the Timeless Lace stamp directly onto the background paper on either side of the photo mat. Stamp the floral heart from the Passage to My Heart Set and color with Copic Markers. Trace along the swirly lines using the metal tip on the Dries Clear Adhesive.  Sprinkle with Ultrafine glitter.  Mount the heart above the lacey heart die cut using dimensional foam.  Stamp and color two of the small rosette flourishes and fussy cut them.  Add them into the flower clusters along with die cuts from the Timeless Amour set. Stamp your sentiment, die cut it using the Francy Framed Tags Two  and adhere so that it overlaps the photo.


Challenges:
Once Upon a Sketch - November (hidden journaling)

Monday, October 22, 2012

Friends Love You Forever

 
Last week, Cheery Lynn Designs introduced their October release - and today I am sharing with you a 12 x 12 layout that features more of the new dies, as well as some older ones.  If you have'nt checked out all of the new release, be sure to take a look. They are really fabulous!


My flowers were created using the center cuts from the Heartland America XL Doily as the base, and then layering that with two different cuts from the Snowflowers Set 1.  Who would of thought that you could create flowers using a heart doily and snowflakes? Just goes to show you how versatile these dies are!  I loved how Kianel made curly-ques last week using the Expandable Quilling strip die - and had to try my hand at it this week.  Thanks for a great idea, Kianel!
 
My flowers were created using the center cuts from
 
New Release dies:
Previously Released Dies:
Patterened Paper: DCWV - Autumn Melody
Cardstock: DCWV - Autumn Melody
 
This week's challenge is all about texture.  How easy is that? Be sure to play along for a chance to win a $20 gift certificate.
 
Challenges:
DCWV: Stack-a-Holic October Sketch
Simon Says: Photo Inspiration
 

Thursday, October 18, 2012

Garden Time


This weekend I had a chance to sit down an play along with the Kaisercraft sketch challenge - which I always love participating.  Let me tell you though - my hands are still inky!

 
I combined Kaisercraft papers and flowers with Dusty Attic chipboard - and was thrilled with the finished layout. I painted each and every brick, and added a little Flowersoft moss - which really looks like the wall in my parent's garden.
 
 
I embossed this urn using Wow Ultra High Silver powder and Distress Embossing Powder combined.  I love the tarnished, weathered look.

My frame has so many layers of mists and crackle paint - but it has so much depth.
 
Thanks for stopping by!
 
Kaisercraft: Just Believe Collection - patterned papers, Dusty Pink Blooms,
 Sweet Nothings Rub-ons, Bling, Lace
Dusty Attic Chipboard
Tattered Angels: Glimmermist, GlimmerGlam
Wow Embossing Powder
 
Challenges:

Monday, September 24, 2012

Rock On!


I had the opportunity a couple of weeks ago to attend a concert by Gary Sinese and the Lt. Dan Band.  It really made for a great evening and all of the proceeds go to buy medical equipment for wounded Veterens.  It was really a touching evening, and just had to share it in a layout.

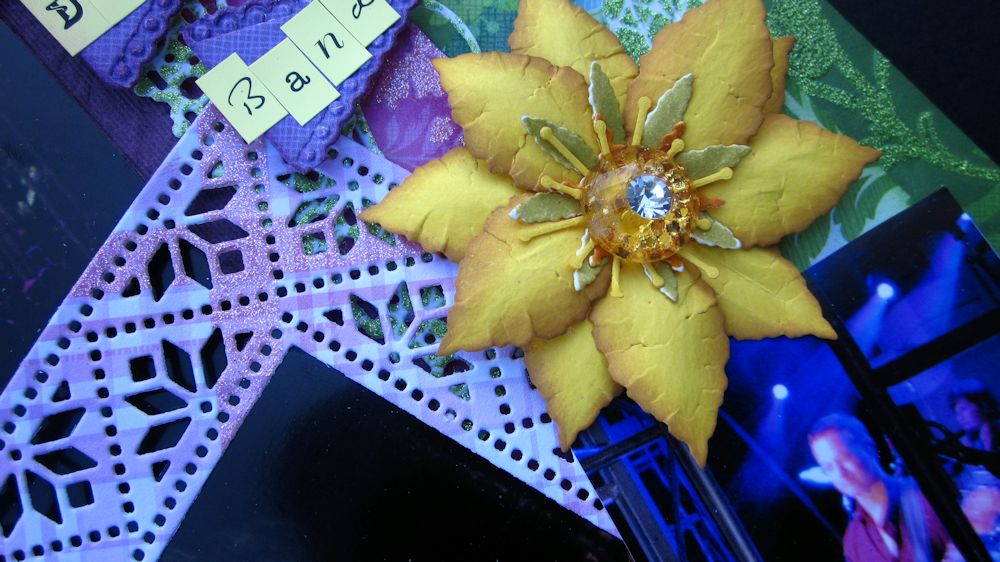
I see tons of sketches now with a fish-tailed banner, and instead of just having straight lines, I used the negative side from one of the Lace Corner sets.  It added a little extra design element.  Look at the purple mat behind the main photo, and you can see I used the Foliage Embossing Plate to create a subtle design.
 
I love how many tons of flowers you can make by combining all of the Cheery Lynn Designs Build a Flowers (and there are more on the way!)
 
 
Can you believe the carnation and the pansy were both made from the Build a Flower 2 Set? Such great versatility! The Daisy was made with the Stacker Flower 2. I used the Embellishment 2 for the Pansy centers.

 
The Clematis was made with the Build a Flower 1. So many flowers and these won't wilt!
 
Thanks for stopping by today!  If you are ready to get out your Cheery Lynn Designs dies, why don't you play along in our week's challenge of Keeping in Krafty (use Kraft paper). We would love to see what you create!
 
 
Patterned Papers: DCWV - Bouquet De Fleur
American Crafts Thickers
Webster's Pages Sparklers
Flower Soft
 
Challenges:
DCWV: September Stackaholic Template Challenge
Simon Says: Emboss It
 

Monday, September 17, 2012

Family Layout


I really love adding borders to my layouts- they add so much detail in such an easy way.  I tend to use only one picture on my layouts, but this one needed to include more, to show the whole "feeling" of my family having a meal together.  I wanted to keep this on the simple side, so as not to detract from the kind of busy pictures.  For me, adding some intricately cut Cheery Lynn Designs borders were the perfect touch for my project.  

The new challenge this week at Cheery Lynn Designs is Frame It. We would love to have you play along for your chance to win a $20 gift certificate.

Cheery Lynn Designs Dies:


Luxury/P844

Classic/ P841

Romantic/P843

Rich/P842

Posh/P846

Magnolia Grove / Clear Stamps CS822

Magnolia Grove/ Collectables CT715

Magnolia Grove Embellishment Pack Ribbon/ EM978

Blossoms/Pansy/EM967

Other Products

WorldWin Cardstock – Red

Clearsnap Ink

                                                Glue Arts U Cut It 3D Adhesive Foam Blanks

Monday, August 27, 2012

Aw, Shucks


Aw, shucks! Doesn't my sweet nephew look adorable wearing his cowboy hat (he was actually watching Saturday morning cartoons - and had to have on his proper attire!) So sweet, but I can't believe how little he was here.

I wanted to show you the difference in the Cheery Lynn Designs older style roses and the one made with the new Build a Flower 2. 
The large flower is made with the Build a Flower 2.  With one pass of the die, you can cut 10 petals at a time - how awesome is that!? And did you notice the rose bud? I adore it - and it's so simple to make. The smaller rose was made with the Large and Medium Roses, but I love how this lets you have different sized flowers on the same project.  The Baby's Breath was made with the Build a Flower Accessories 2.  There are just so many flowers that we can create now, and Mike is already working on the 3rd die in this series! To see some of the possiblities that you can already create - please have a look at the Build a Flower Tutorials. We will be adding to this - so if there is any type of flower you'd like to see, let us know!


Our challenge this week is Anything Goes - so show us your projects using Cheery Lynn Designs and you could win a $20 gift certificate!


Patterned Papers: DCWV The Tradewinds Stack
Stamps: The Craft's Meow Giddy Up
May Arts Ribbons: Grosgrain and Ivory Stripes; Woven Burlap
Epiphany Crafts: Star Epoxies and Tool

Challenges: